
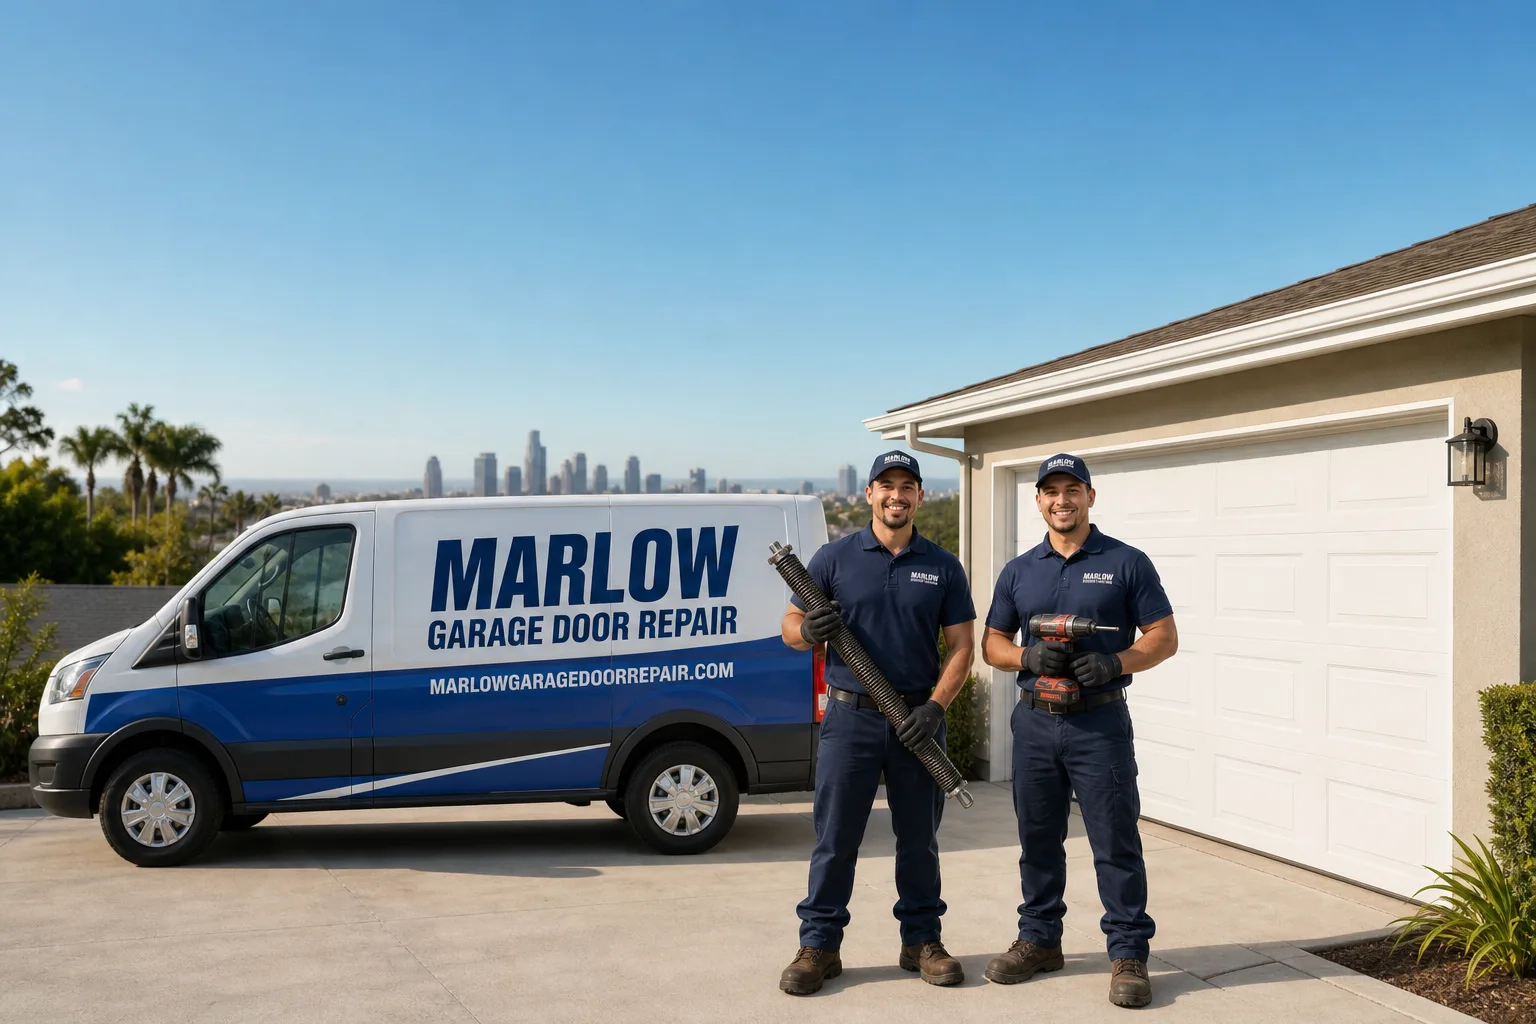
Full 25-point door and opener safety check with every visit - springs, cables, rollers, tracks, and your LiftMaster or Chamberlain opener included
You get a price before we start. It does not change when the truck arrives.
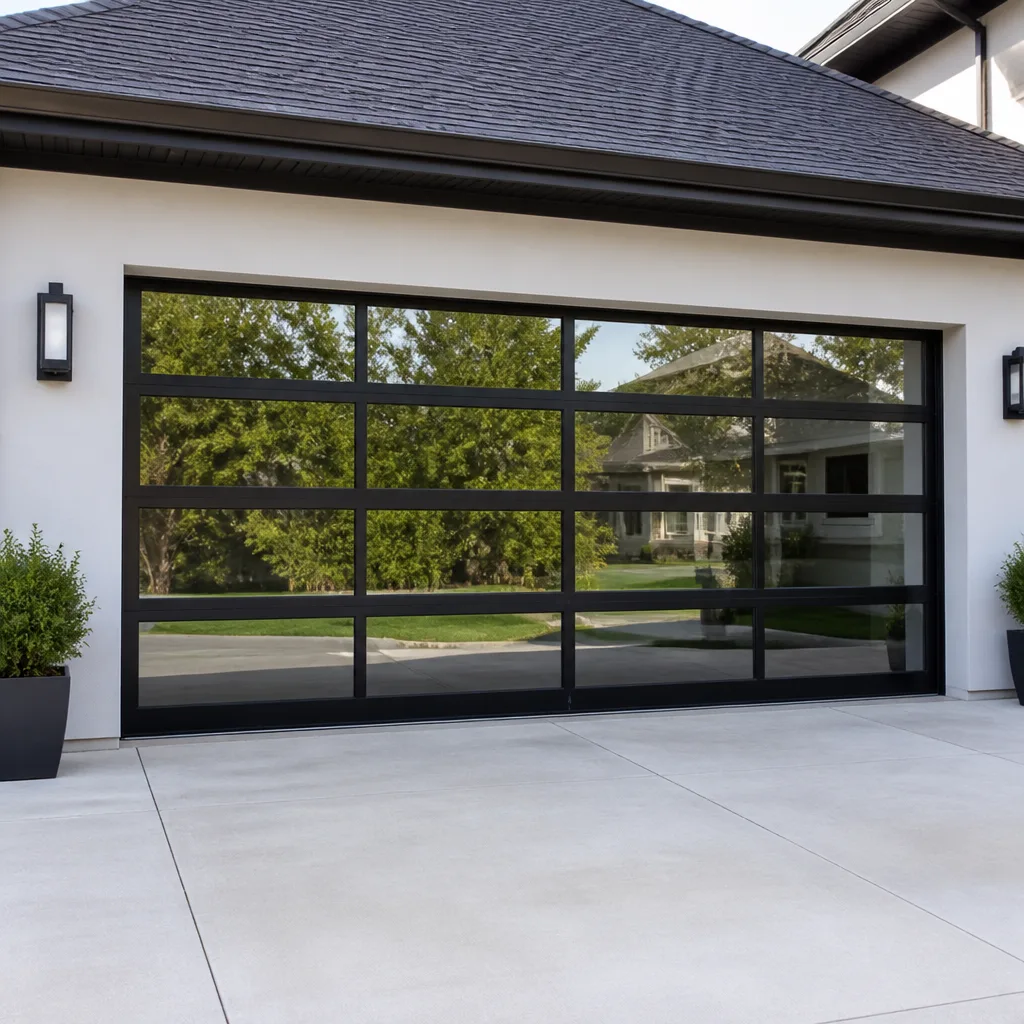
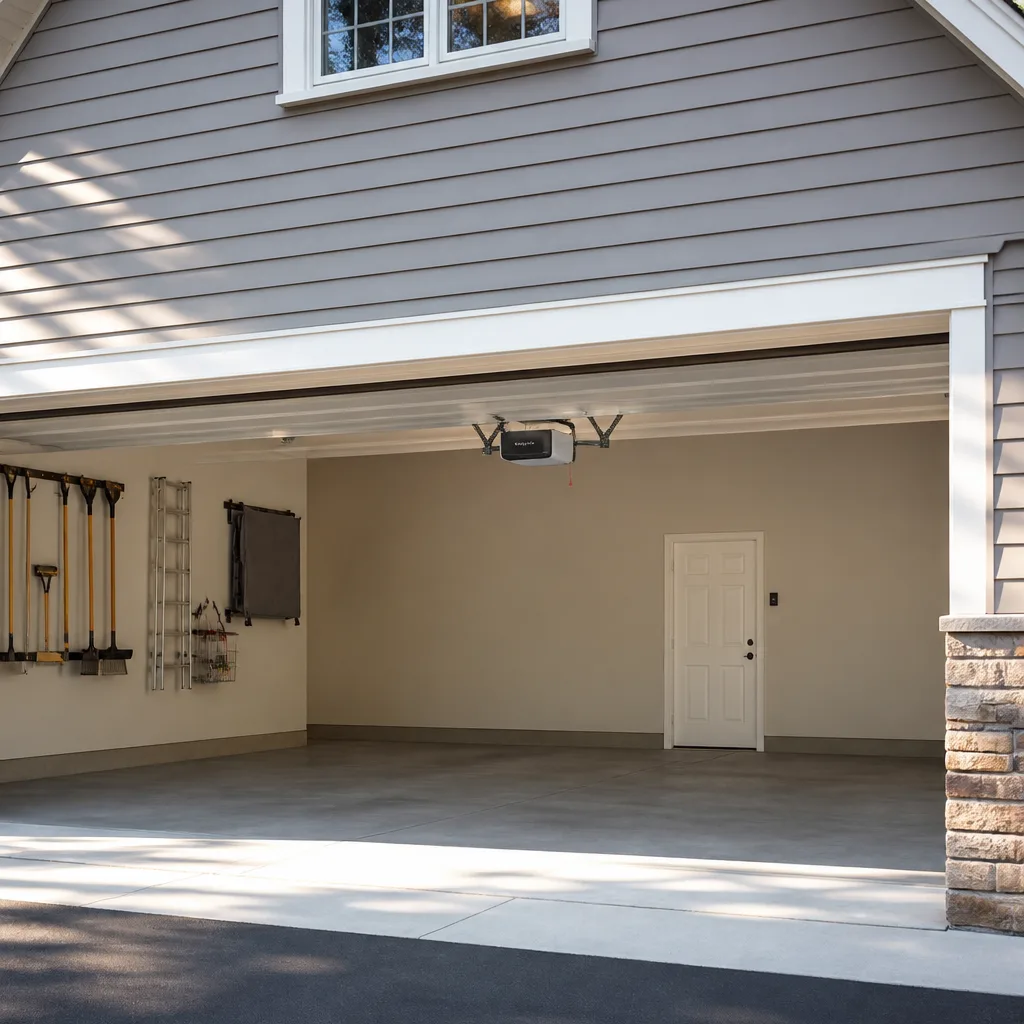
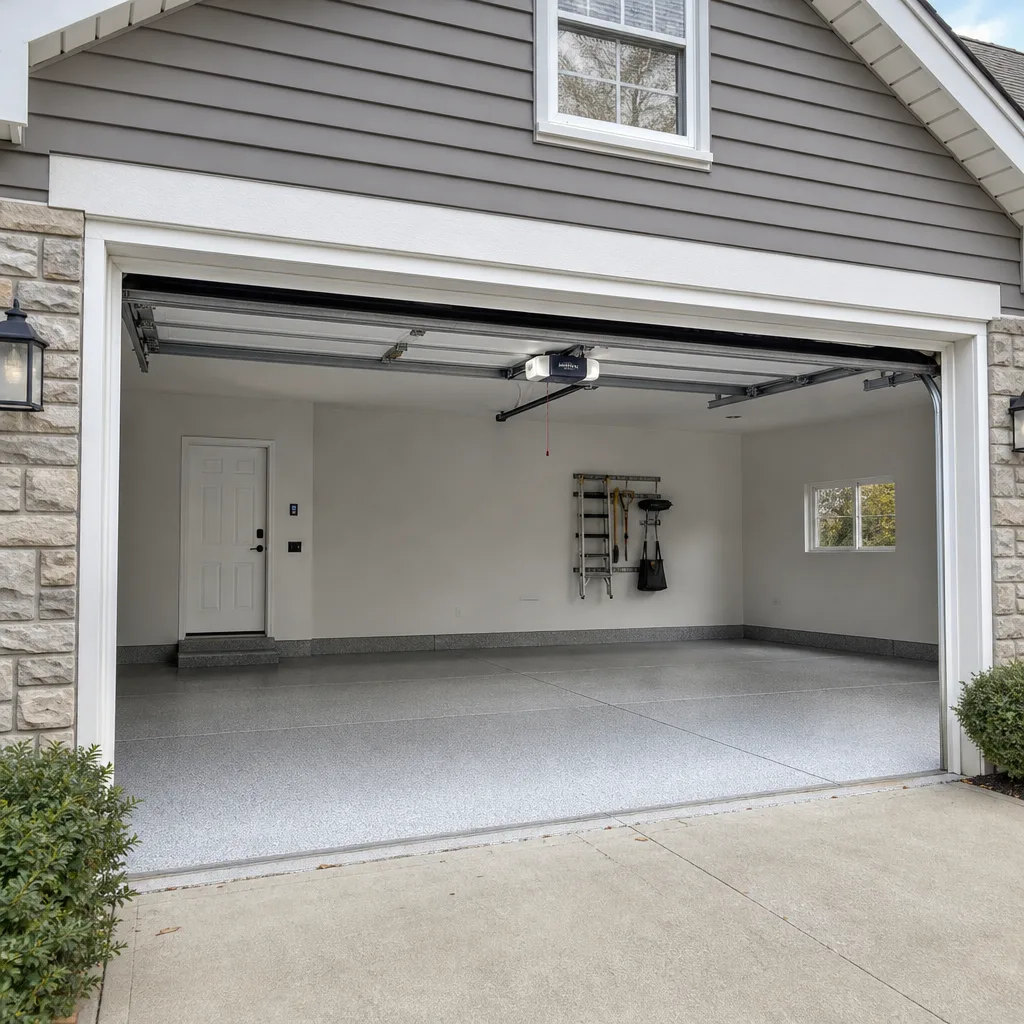
 Before
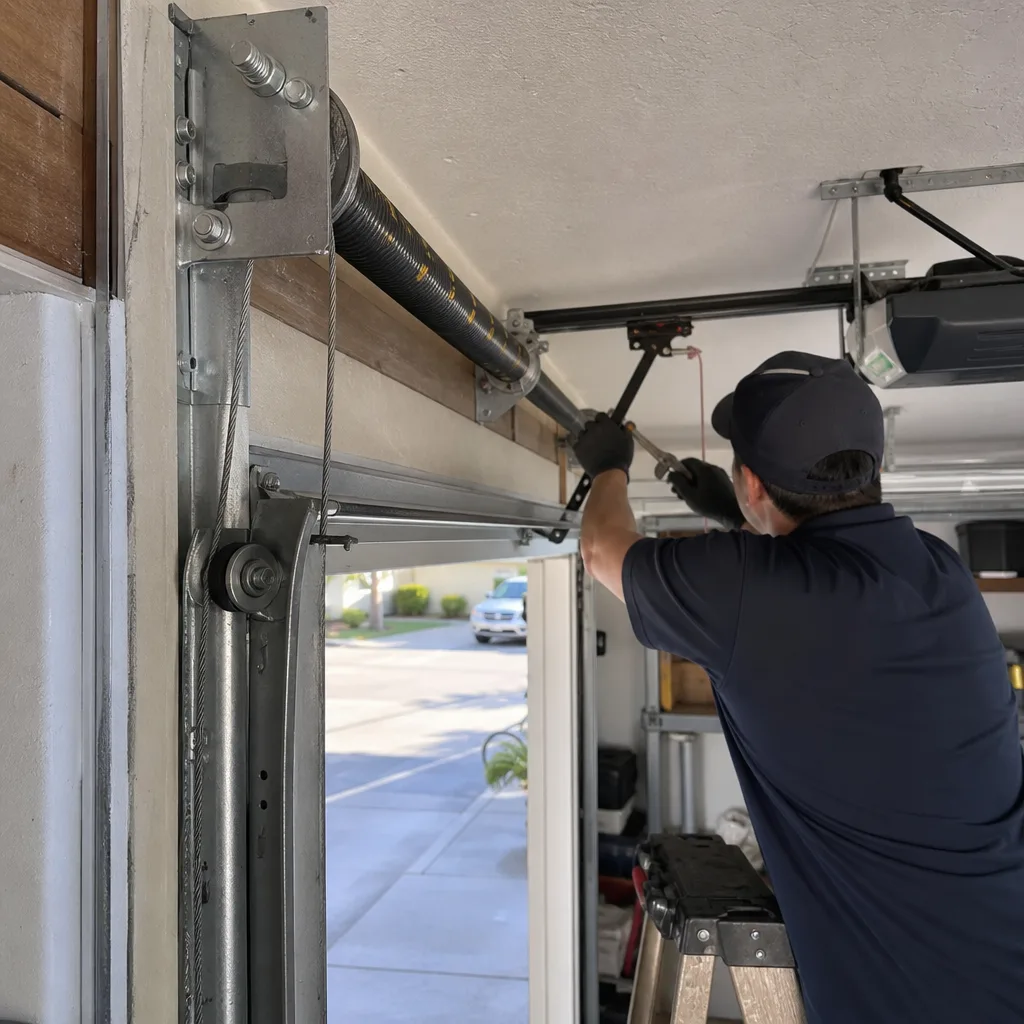 After
After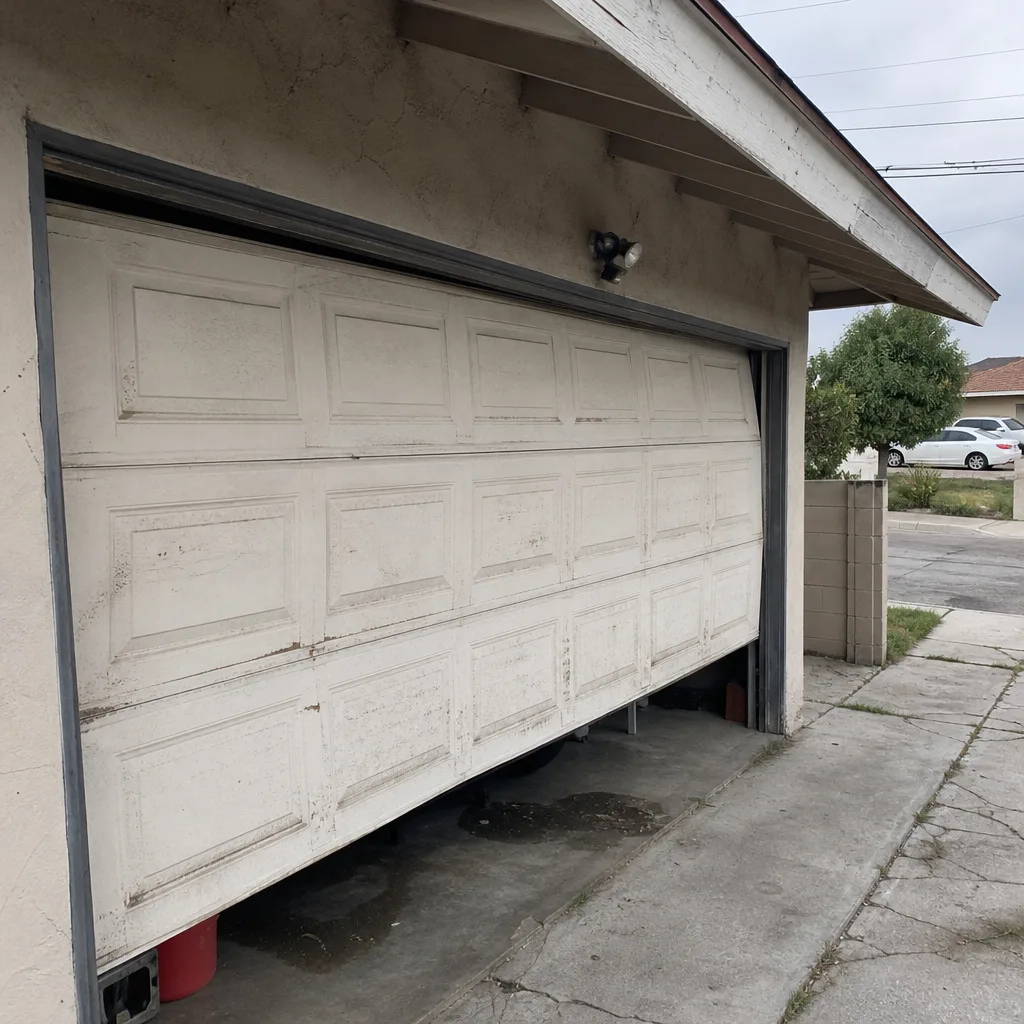 Before
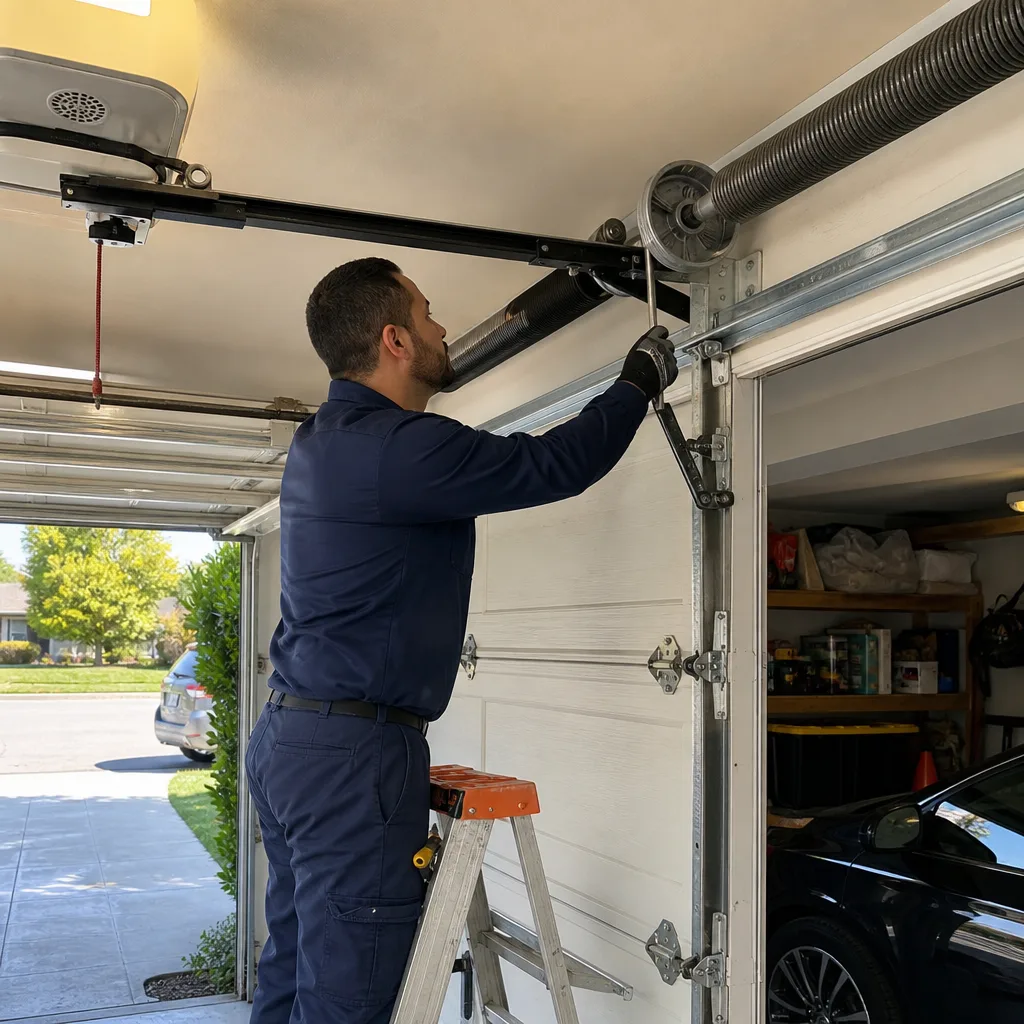 After
After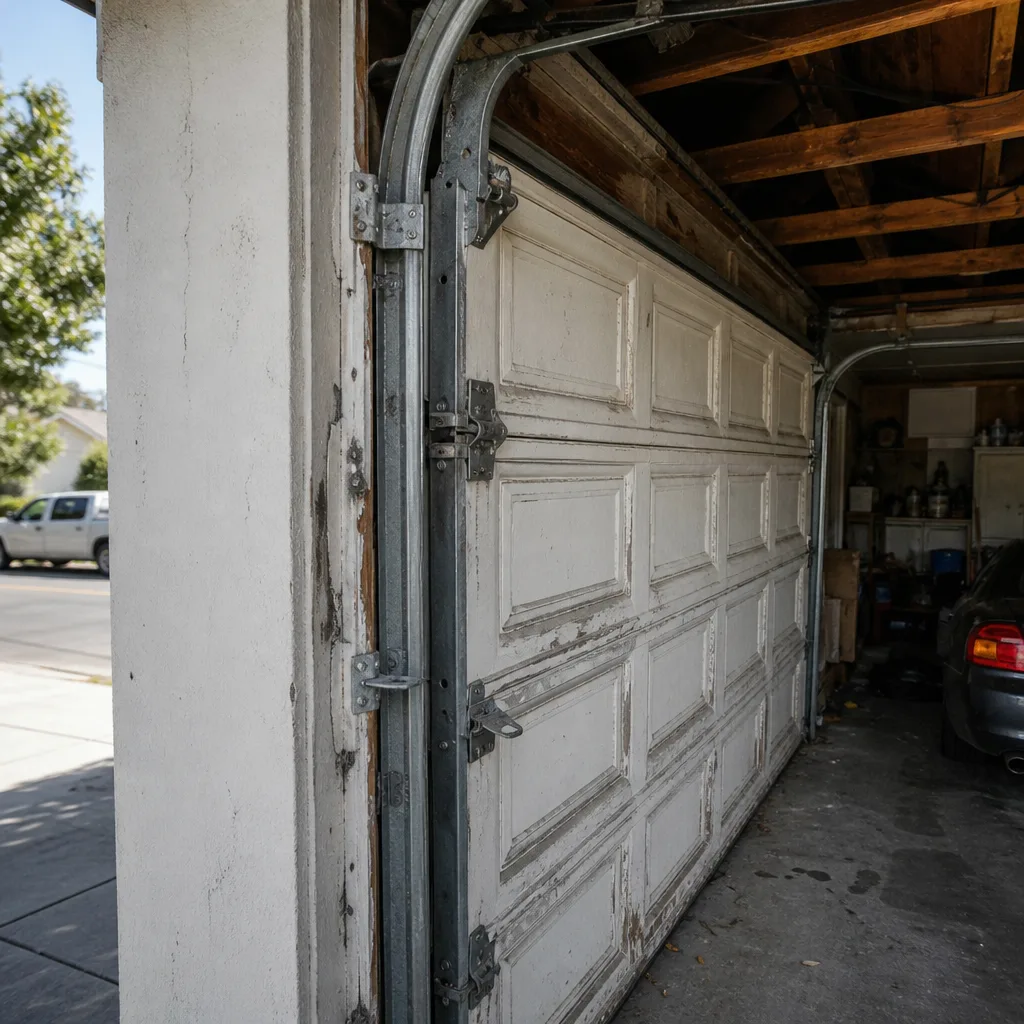 Before
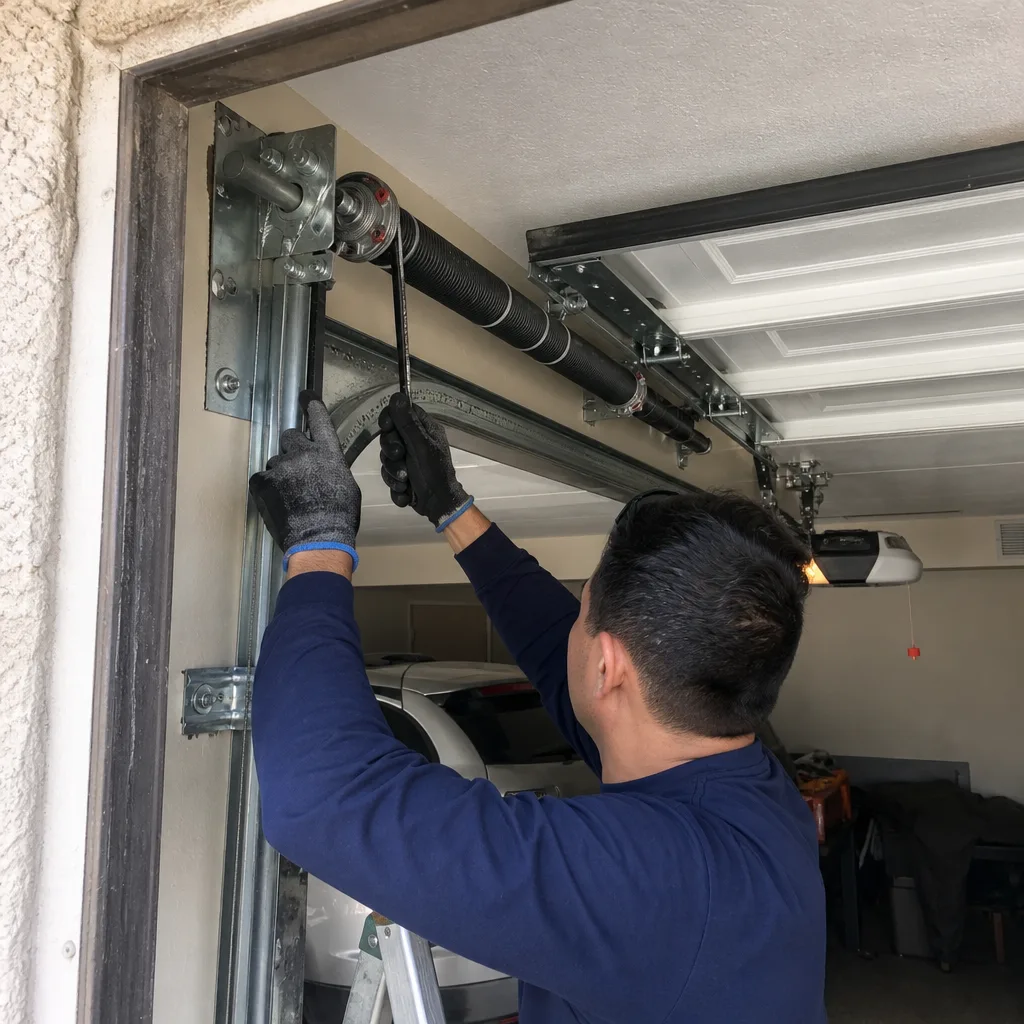 After
AfterGarage Door Remote Stopped Working
When your garage door remote stops working, the cause is almost always one of four things: a dead battery, a remote that has lost its programming, a blocked or dirty photo-eye sensor, or a problem with the door’s logic board or receiver. None of those require guesswork – a trained technician can pinpoint the exact cause on the first visit.
The frustrating part is that all four failures look identical from where you’re standing: you press the button, nothing happens. But what’s actually going on under the hood is very different depending on which one it is. A dead battery is a two-minute fix. A logic board failure is a repair. Knowing which you’re dealing with saves time and keeps you from replacing parts that don’t need replacing. Here’s how to tell them apart before anyone shows up at your door.
Why It Happens
Dead or Weak Battery
This is the most common reason a remote stops responding, and it catches people off guard because the battery often dies without warning. The clearest sign is that the remote works if you hold it within a foot or two of the opener but fails at normal distance – that’s a battery losing voltage, not charge. Swap it for a fresh one before anything else.
Remote Has Lost Its Programming
Garage door remotes can lose their pairing to the opener after a power outage, a surge, or sometimes just on their own over time. The tell is that the wall button inside your garage still works fine – the door moves normally when you press it – but the handheld remote does nothing at all from any distance. The remote and the opener are simply no longer speaking the same language.
Blocked, Dirty, or Misaligned Photo-Eye Sensors
Every modern opener has two small sensors mounted near the floor on either side of the door opening. If those sensors are dirty, knocked out of alignment, or blocked by a box or a bike that drifted too close, the opener may refuse to respond to remote commands as a safety measure. Look for a blinking light on the opener unit itself – most brands blink a specific pattern to signal a sensor fault. The sensors sit only a few inches off the ground and are easy to spot; they look like small black or clear plastic eyes facing each other.
Opener Logic Board or Antenna Failure
If new batteries don’t help, the wall button stops working too, and the opener makes no sound at all when you press either one, the problem is likely inside the opener unit itself – either the logic board or the radio receiver antenna. The antenna is the short wire or strip that hangs from the motor head; if it’s been tucked up, cut, or damaged, the opener can’t receive signals. A logic board failure typically follows years of use, a nearby lightning strike, or repeated power surges. This is the one cause that can’t be diagnosed from the outside and needs a technician’s eye on the unit.
What to Do Right Now
- Swap the battery first. Use a brand-new battery, not one pulled from another remote. Even batteries still in packaging can lose charge over time. If the remote springs back to life, you’re done.
- Check the wall button. Press it and see if the door moves. If it does, the opener is fine and the problem lives in the remote itself – either the battery or the programming. If the wall button also fails, the issue is in the opener unit.
- Look at the photo-eye sensors. Crouch down and look at both sensors near the floor. A steady green light on both sides is good. A blinking or red light means something is wrong. Wipe the lenses gently with a dry cloth and make sure nothing is blocking the path between them. Do not reach into the opener mechanism itself.
- Check for a loose or damaged antenna wire. Look at the motor head hanging from your ceiling. There should be a thin wire or strip hanging down from it. If it’s coiled up, let it hang free. If it looks cut or chewed, stop and call – that’s a technician repair, not a homeowner fix.
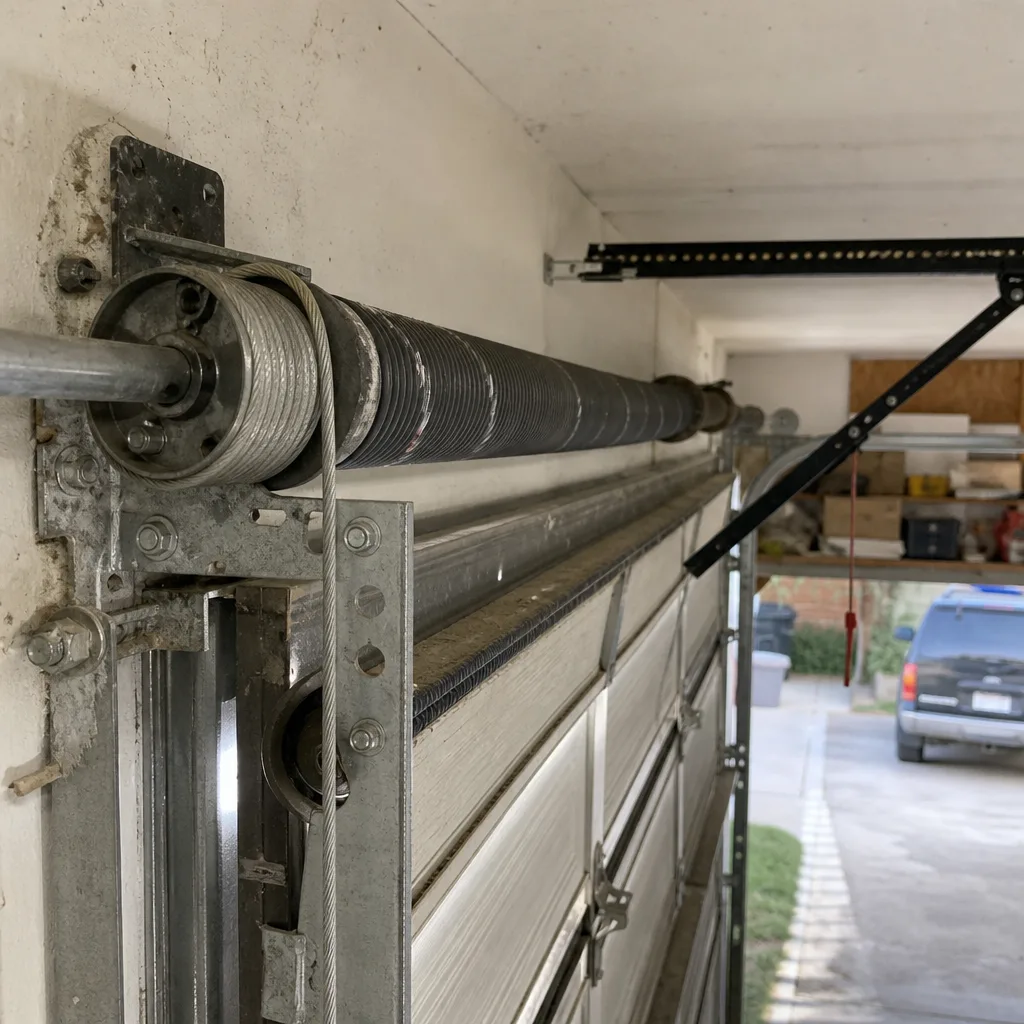
- Do not attempt to open or repair the opener unit yourself. The capacitors inside a garage door opener can hold a charge even when unplugged. The torsion spring above your door carries extreme tension and is not related to this symptom, but it is in the same space – keep your hands away from the spring and cable hardware entirely. If the opener needs internal work, that’s the point where you call a technician.
How We Fix It
When your local Marlow Garage Door Repair technician arrives, the first thing they do is run through a quick diagnostic sequence – wall button, remote signal, sensor alignment, antenna condition, and logic board response – to confirm exactly which component has failed. That takes about ten minutes and produces a clear answer, not a guess.
If it’s a programming issue, the tech reprograms the remote to the opener on the spot. If the antenna is damaged, it gets replaced. If the logic board has failed, the technician will walk you through the repair option and the replacement option so you can decide what makes sense. Marlow is trained to work on LiftMaster, Chamberlain, Genie, Clopay, Amarr, Wayne Dalton, Craftsman, and Raynor units, so your specific opener isn’t a guessing game for the technician arriving.
Before any part is touched, you’ll receive a written price. That number doesn’t change once work starts. Most remote and receiver repairs are completed in under an hour. Every repair is backed by the 365-Day Done Right Promise – if the fix isn’t right, we come back and make it right, in writing, not just a verbal assurance.
Frequently Asked Questions
It’s not a safety emergency on its own – a non-responsive remote doesn’t mean your door is about to fail. That said, if your wall button has also stopped responding and you can’t open or close the door at all, that becomes urgent quickly, especially if a car is trapped inside or the door is stuck in the open position. A door stuck open is a security problem. Call (512) 883-4374 if you’re in that situation and want someone out the same day.
If the wall button still works and only the remote is the issue, it can wait a day or two without anything getting worse. If the problem is a failing logic board, waiting doesn’t usually make it worse either – but it also won’t resolve itself. The one scenario where waiting costs you is a stuck-open door, which is a security risk every hour it sits that way. Call (512) 883-4374 to get it on the schedule before it becomes a bigger problem.
Your local Marlow team handles remote and opener diagnostics as a standard service call, and same-day availability is common for this type of repair. Call (512) 883-4374 – a real person answers every call, around the clock – and they’ll tell you exactly what’s open today. No voicemail, no callback queue.
No. The written price is delivered before any work starts, and the number on your invoice matches the number you agreed to – that’s a non-negotiable standard on every Marlow job, not a policy we apply selectively. If the technician finds something additional during the diagnosis, they’ll price that separately and get your approval before touching it. You’re never handed a surprise invoice.
Get It Fixed
Call (512) 883-4374 – a live person answers every call, day or night – or book online and track your technician’s arrival in real time. Your local Marlow Garage Door Repair team will diagnose the problem, give you a written price before anything starts, and back the repair with the 365-Day Done Right Promise.
Written by Jaylen Ross, Owner & Lead Technician at Marlow Garage Door Repair, part of the Relay Home Co. family of locally operated home-service businesses, serving communities across the country since 2002.
What Our Customers Say
"Safety sensors realigned. Tech texted before arriving and after finishing."
- Candice L."Quote came by text before the visit and didn't change."
- Holly T."Good repair and easy booking. The ETA slipped by about 20 minutes, but the text updated before I even noticed."
- Dave M.