
Last updated October 9, 2026
Full 25-point door and opener safety check with every visit - springs, cables, rollers, tracks, and your LiftMaster or Chamberlain opener included
You get a price before we start. It does not change when the truck arrives.
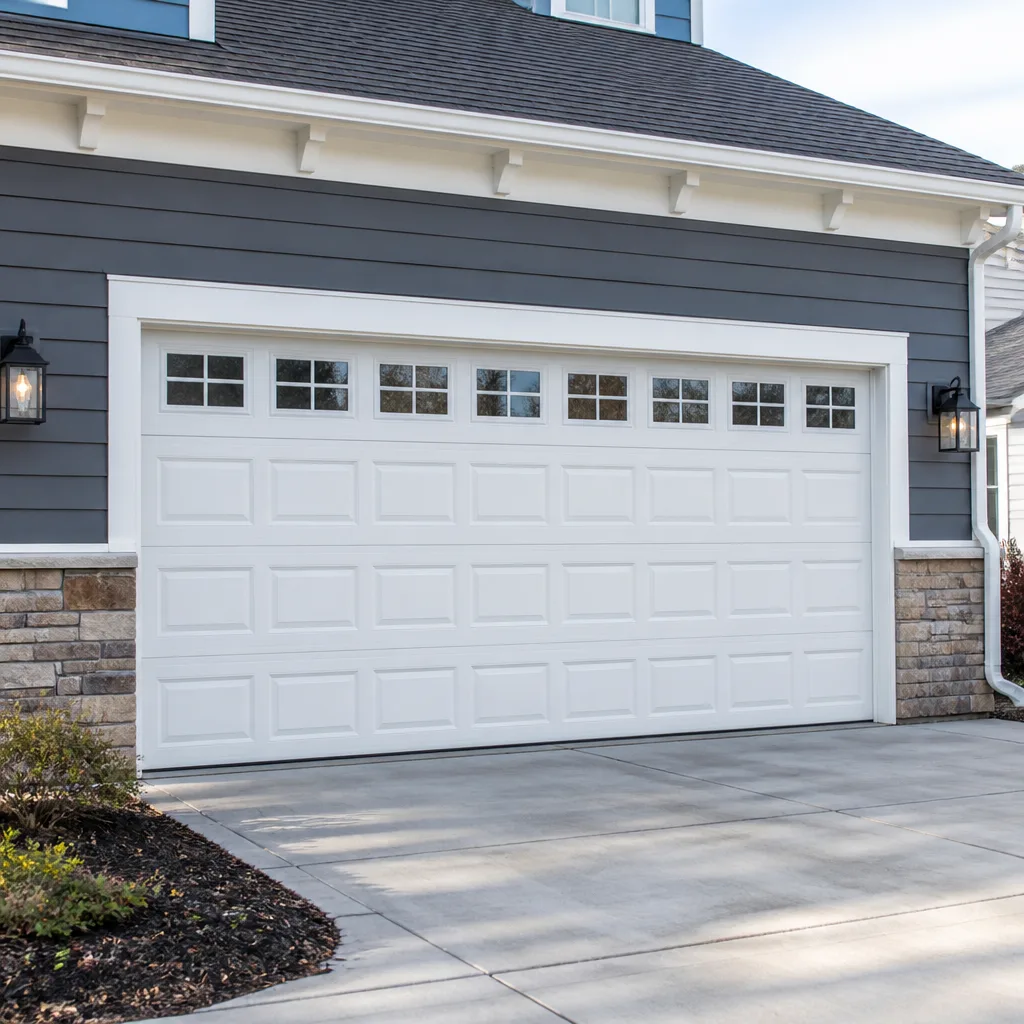
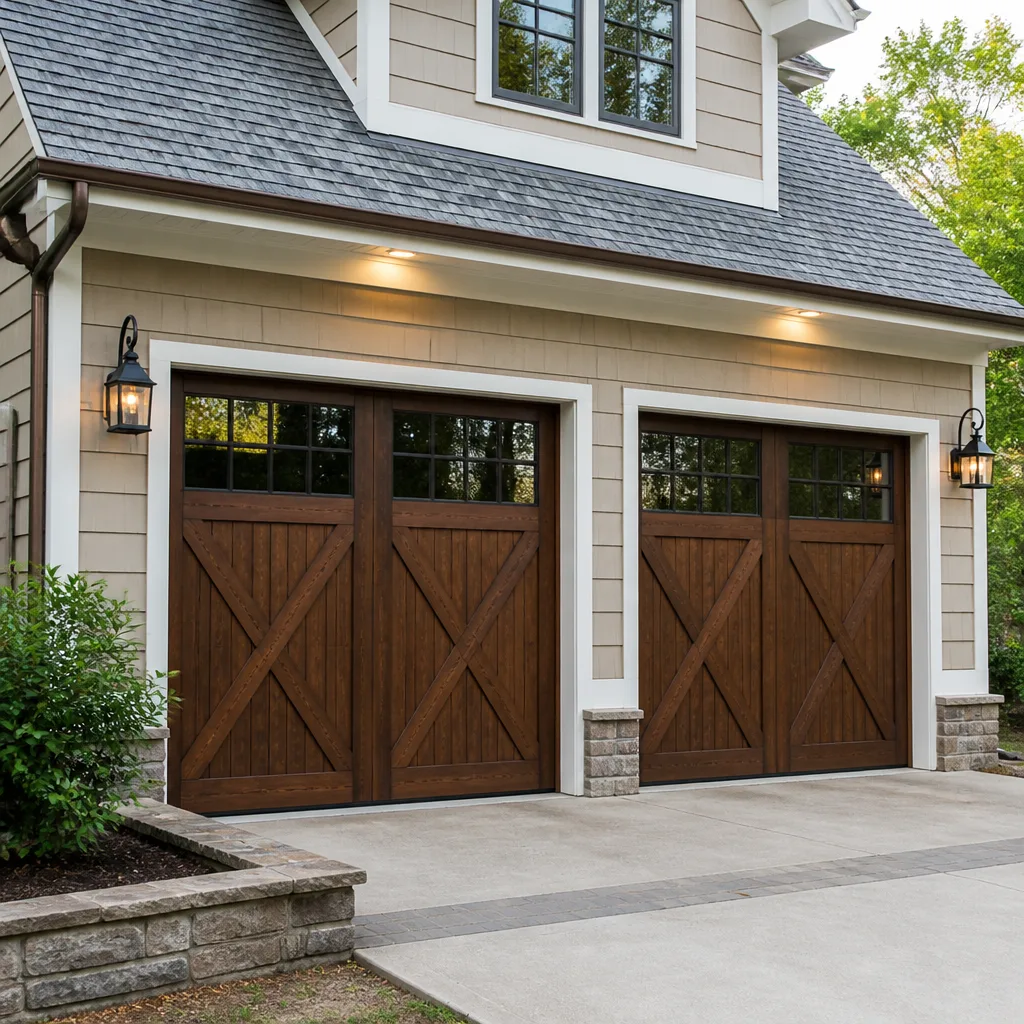
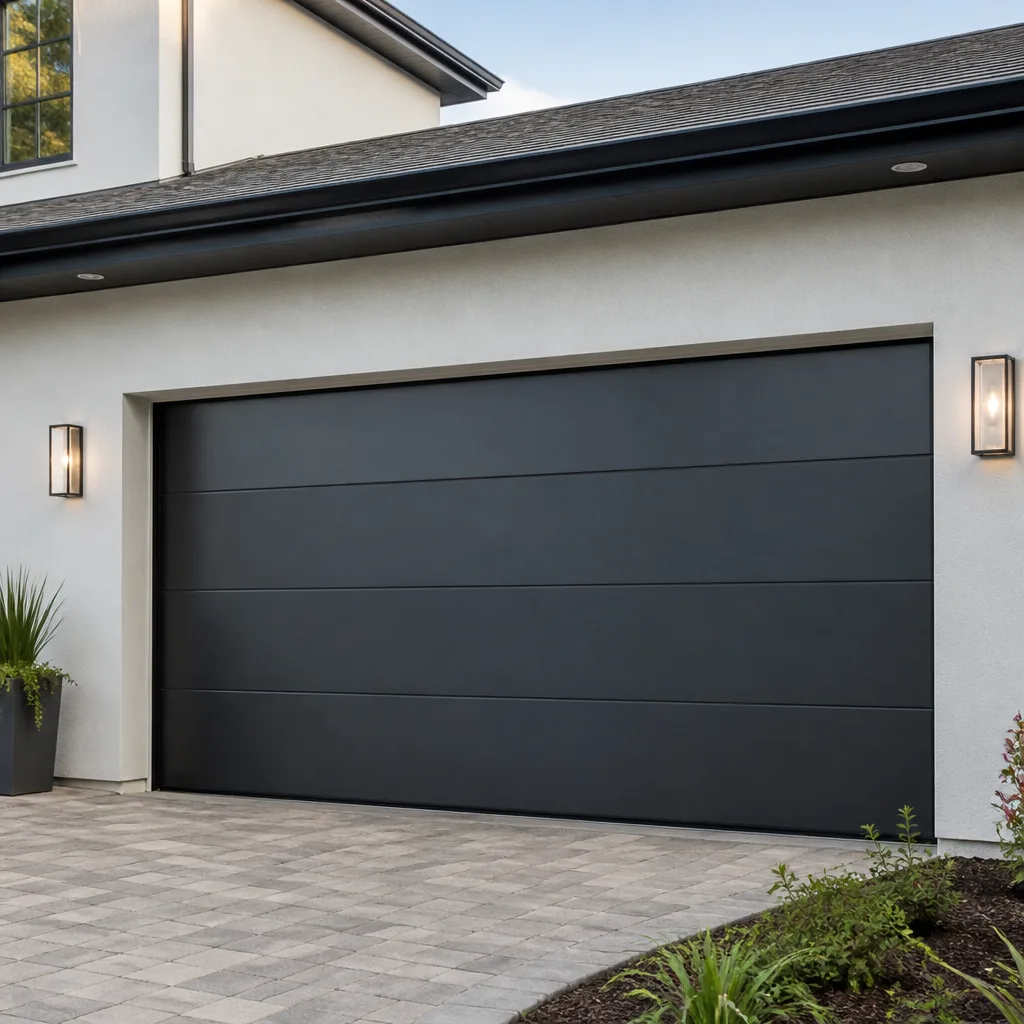
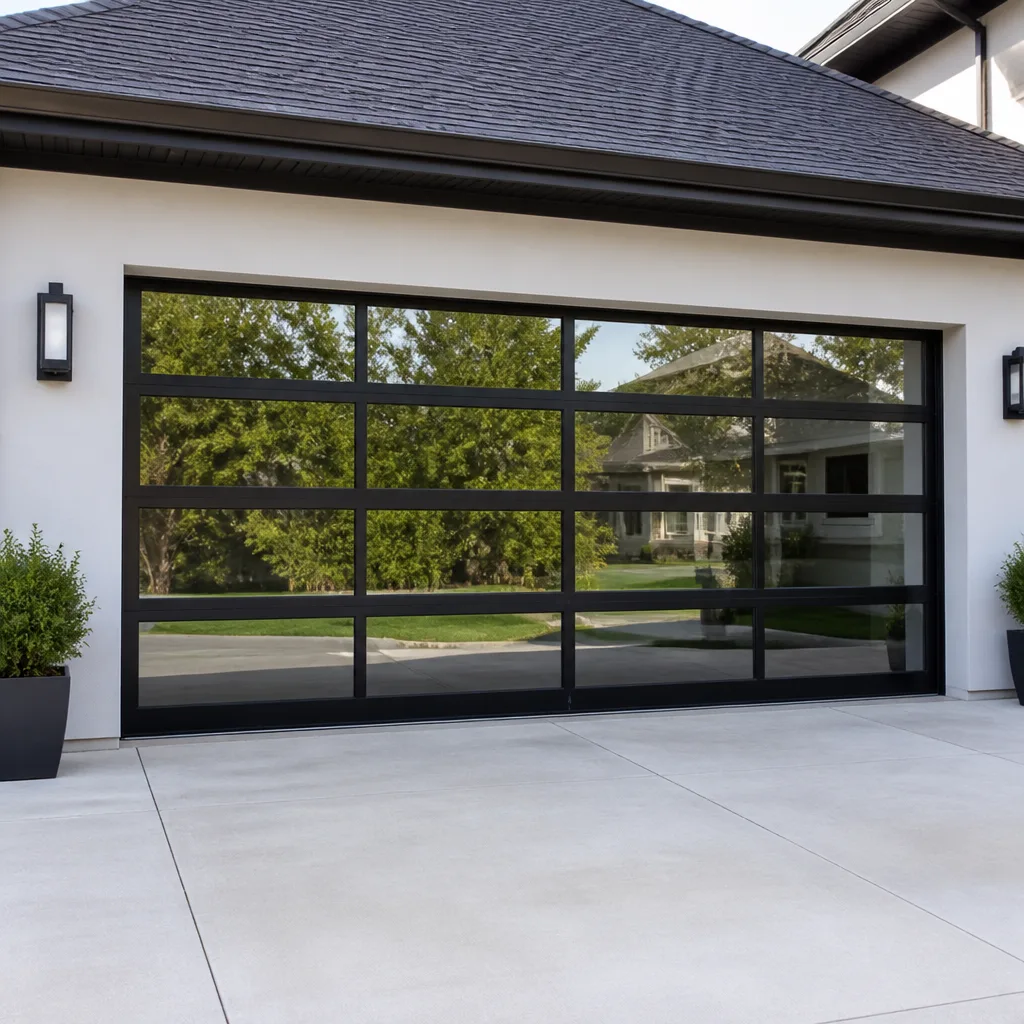
 Before
 After
After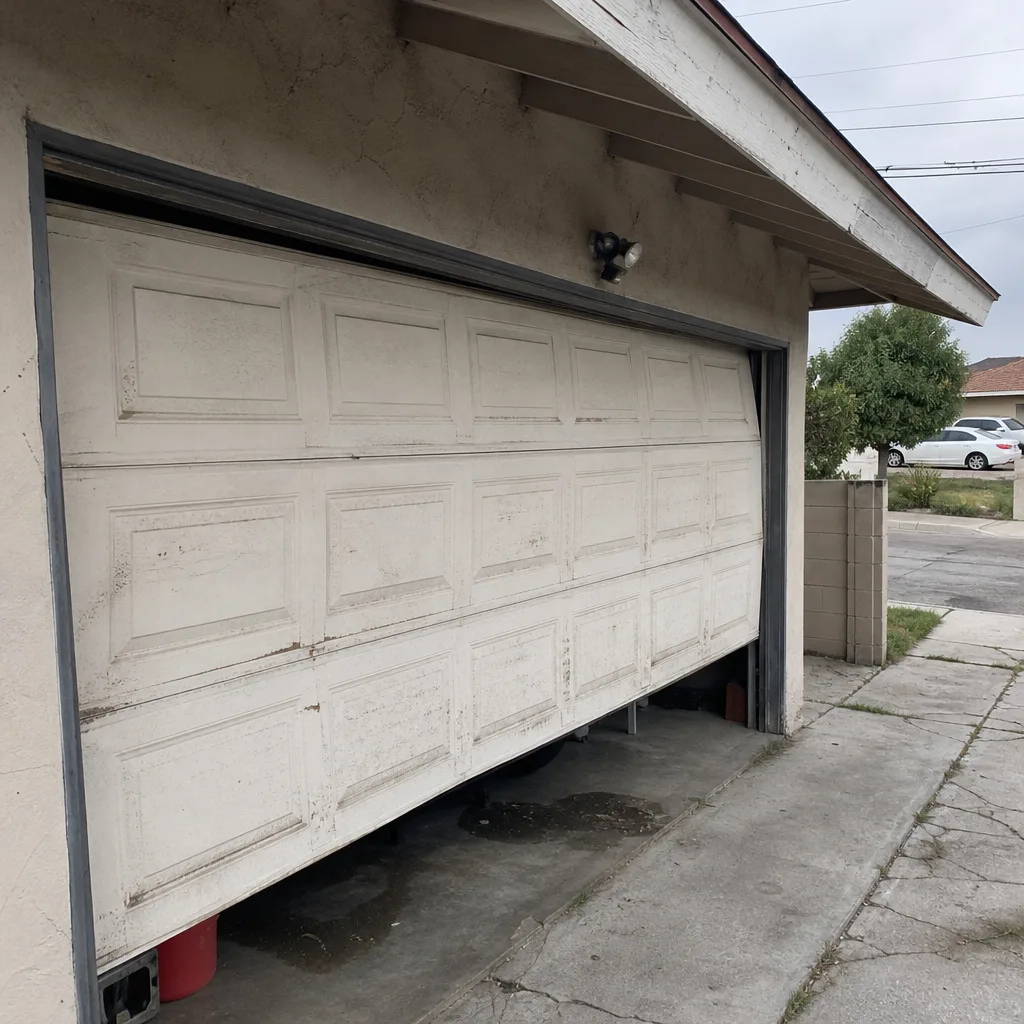 Before
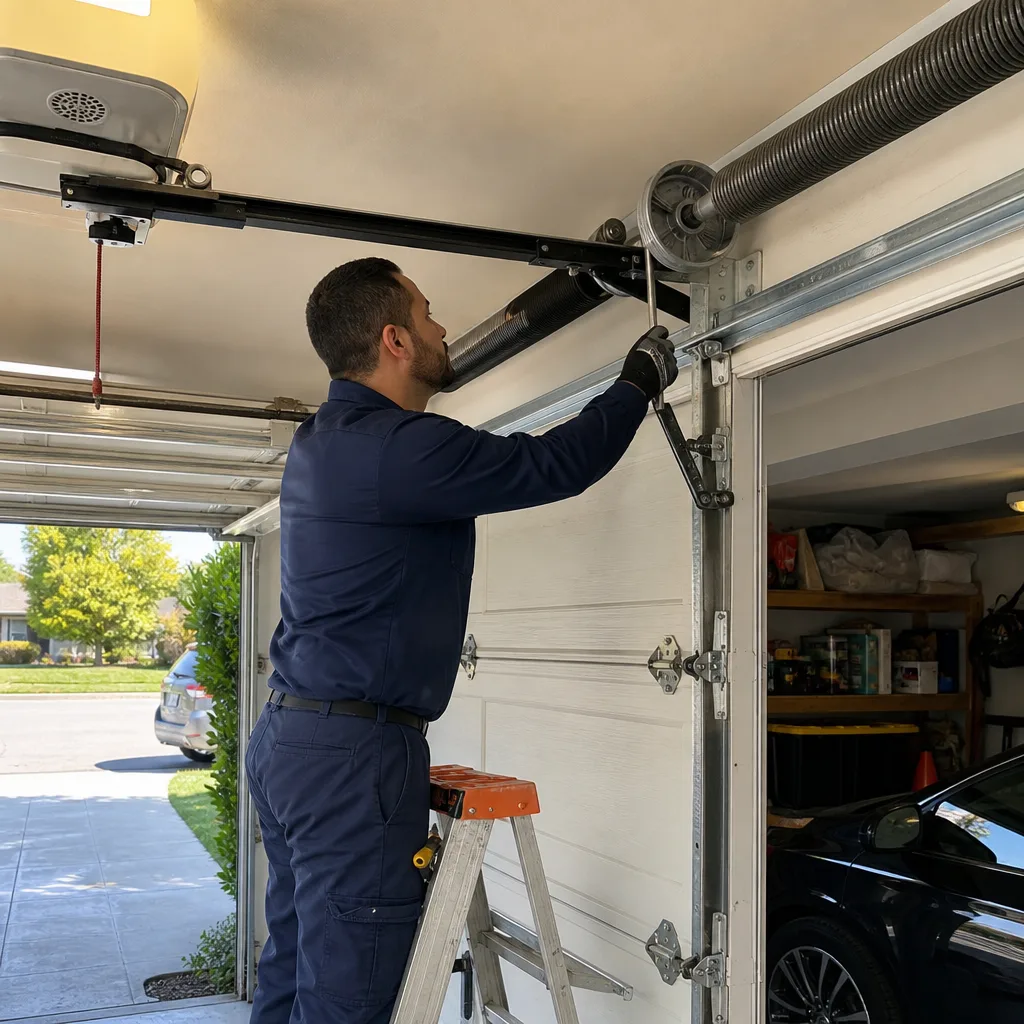 After
After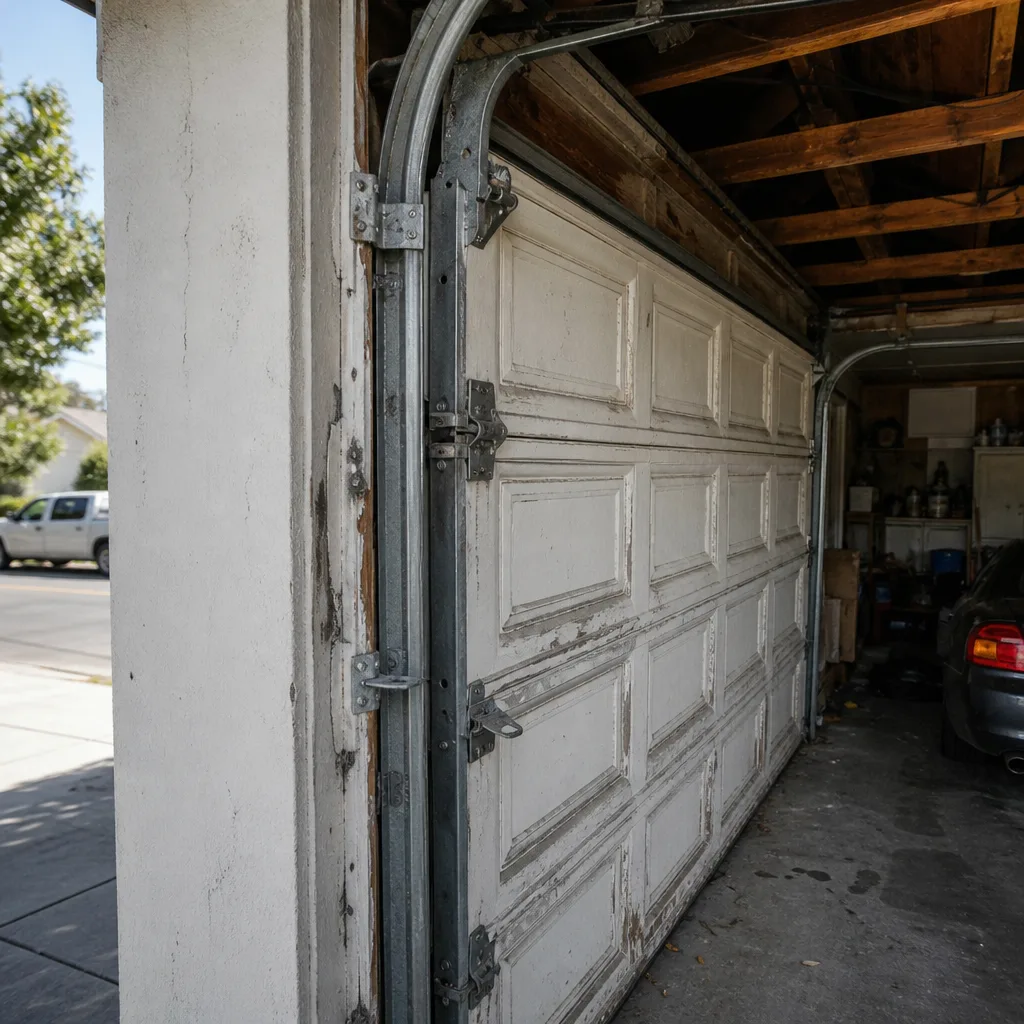 Before
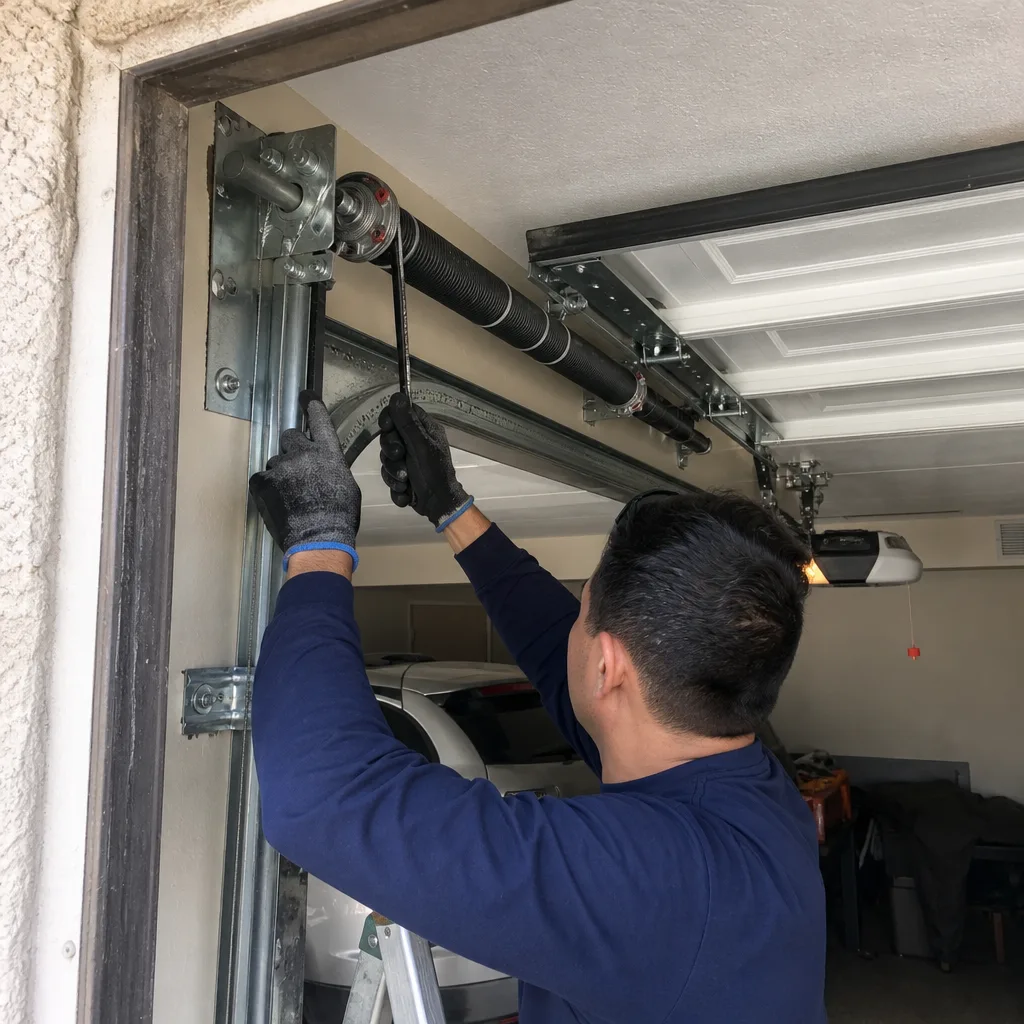 After
AfterGarage Door Cable Repair Warning Signs Every Homeowner Should Know
The fraying that precedes most garage door cable failures is visible for weeks before the snap – it’s just happening in a spot most people never look. Homeowners in Los Angeles see their garage door from one angle: standing inside the garage, facing the door at eye level. That position hides the three zones where cables actually fail. By the time the door slams crooked or won’t open at all, the damage has been developing for a while. This guide walks you through exactly where to look, what healthy cables look like, and how to tell the difference between a problem you can schedule and one that needs attention today. For more on what to do when immediate help is required, see our Garage Door Emergency Preparedness Guide for Los Angeles Homes.
Quick Answer
Garage door cable repair warning signs include visible fraying or broken wires near the bottom bracket or drum, a door that hangs crooked or lifts unevenly, slack in one cable while the other is tight, a loud snap followed by the door jamming, and rust or corrosion along the cable run. If you spot any of these, stop using the door and call a professional for Garage Door Cable Repair – cable failures are dangerous because the cable carries the full weight of the door under tension. In Los Angeles, cable replacement typically costs $150 – $240 per cable installed, and most repairs are completed same-day.
Table of Contents
- The Three Inspection Zones Most Homeowners Never Look At
- What a Healthy Garage Door Cable Looks Like
- Warning Sign 1: Fraying and Surface Wire Breaks
- Warning Sign 2: Cable Slack vs. Cable Wear (And Why It Matters)
- Warning Sign 3: Behavioral Signs Your Door Is Telling You Something
- Warning Sign 4: The Nighttime Flashlight Check
- Warning Sign 5: Rust, Corrosion, and Los Angeles Climate Factors
- How Much Does Cable Repair Cost in Los Angeles?
- Why You Should Not DIY a Garage Door Cable Replacement
- Common Mistakes to Avoid
- When to Call a Professional
- Frequently Asked Questions
- The Bottom Line
The Three Inspection Zones Most Homeowners Never Look At
Garage door cables don’t fail randomly. They fail in three predictable places, and each one tells you something different about what’s happening with your door. The problem is that all three zones sit outside the normal sightline of someone standing inside the garage looking straight ahead. We’ve repaired cables in Los Angeles neighborhoods from Echo Park to Sherman Oaks, and the pattern is consistent: the homeowner spotted nothing until the cable snapped because they never knew where to look.
Zone 1: The bottom bracket area. This is where the cable attaches to the bottom corner of the door. It’s the highest-stress point on the entire cable system because it carries the full weight of the door every time it opens and closes. The cable here wraps around a small roller assembly and makes a tight bend before running upward. Fraying in this zone almost always shows up first near the crimp or the barrel fitting where the cable terminates. Bend down and look at the bottom corner of your door from about two feet away, or run your phone camera down there and take a photo – you’ll see details your eyes miss.
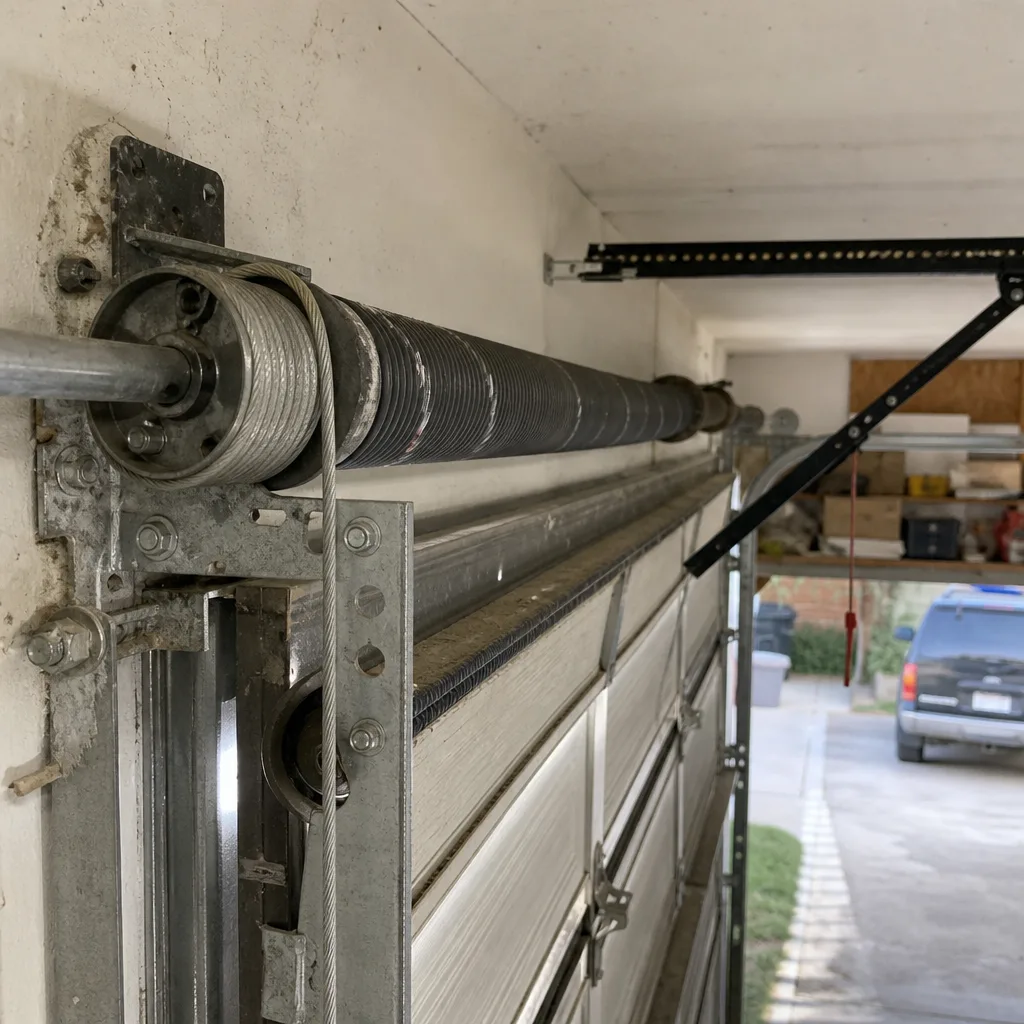
Zone 2: The drum wrap. At the top of the door, each cable winds around a grooved drum mounted on the torsion bar. When the door closes, the cable should coil evenly into those grooves. If the cable overlaps itself, rides up on the drum’s edge, or shows flattened or kinked sections where it wraps, that’s an early warning. This zone is visible from inside the garage if you look up toward the spring assembly – but almost no one does.
Zone 3: The mid-cable run. The vertical section of cable between the drum and the bottom bracket. This zone is where you’ll spot rust, surface corrosion, and the subtle “hairy” texture that means individual wire strands are starting to break. The mid-run is the easiest zone to inspect – it’s right there at the vertical track – yet it’s the one most people never actually study.
Here’s the thing about inspection angles: a cable that looks perfectly fine from six feet away at eye level can reveal significant damage when viewed from low and close with a light source behind you. The angle matters more than the distance. Most cable failures we see in Los Angeles were visible for weeks if you knew to crouch down and look up at the bottom bracket, or shine a light across the drum at a low angle.
What a Healthy Garage Door Cable Looks Like
Before you can spot a problem, you need a baseline. A healthy garage door cable has four defining characteristics. First, it should be uniformly dark grey or silver with a consistent metallic sheen – no rust patches, no discoloration, no flaking. Second, the surface should be smooth, not fuzzy. A new cable is made of many thin wires twisted tightly together; when those wires are intact, the surface looks slick. Third, both cables should be equally taut when the door is closed. Press your thumb against the mid-run of each cable – they should feel like a tight guitar string, not a loose shoelace. Fourth, the cable should sit cleanly in its drum groove with no overlapping coils and no visible gap between the cable and the drum’s edge.
There’s also an age factor. Most garage door cables last 8 to 12 years in Los Angeles, though coastal properties in Santa Monica or Venice tend to see shorter lifespans because salt air accelerates corrosion. If your cables are original to a door that’s older than a decade, they’re on borrowed time even if they look okay. A proactive replacement – one we can schedule, quote, and complete at your convenience – is far cheaper than an emergency call after a snap.
One more baseline note: the two cables should wear symmetrically. If your left cable shows minor surface texture but the right cable looks smooth, something is putting uneven load on that side – possibly a misaligned track, a failing roller, or a spring that’s losing tension. Asymmetry is itself a warning sign, even if the “bad” cable still has life in it.
Warning Sign 1: Fraying and Surface Wire Breaks
Fraying is the most common and most visible cable failure signal, and it’s the one that gives you the longest window to act. A garage door cable is made of individual wire strands twisted together – typically 7 strands of 19 wires each, totaling 133 separate wires in a single cable. When some of those wires snap while others hold, the surface develops a rough, hairy texture. That’s fraying.
Here’s what it looks like in each zone:
- Bottom bracket: Broken wires will splay outward near the crimp or barrel fitting, often looking like a small wire brush growing out of the cable end. This is the most serious location for fraying because the cable is under maximum load at the attachment point.
- Drum wrap: Fraying here shows as flattened or shiny sections where the cable rubs against the drum’s edge. You might also see fine metal dust accumulating on the torsion bar below the drum – that’s cable material being ground away.
- Mid-run: Surface wire breaks will look like tiny whiskers or a fuzz on the cable. Run your finger lightly along the cable (don’t grip it, just skim) and you’ll feel the roughness before you see it.
The critical distinction: a few broken surface wires don’t mean the cable is about to snap. A cable with 5 to 10 broken wires can still function for months. But once you see fraying, the failure clock is running, and it’s running faster every time the door cycles. A cable with visible fraying should be replaced on your schedule – not on the cable’s. Call for a quote before it becomes an emergency.
Warning Sign 2: Cable Slack vs. Cable Wear (And Why It Matters)
Cable problems fall into two categories, and homeowners need to know the difference because they demand different responses. The first category is cable wear – gradual degradation from age, friction, or corrosion. Wear shows up as fraying, rust, or thinning strands. It’s a scheduled repair. You have time. You can compare quotes, book a technician for a Tuesday morning, and plan around it.
The second category is cable slack – a sudden loss of tension in one cable. Slack is urgent. When a cable goes slack, it usually means one of three things: the cable has jumped off the drum, the cable has snapped or is about to snap, or the spring has broken and transferred all the load to one cable. In any of those scenarios, the door is now operating – or trying to operate – on a single cable and an unbalanced load. That’s how doors come off their tracks. That’s how cables whip free and damage cars, walls, or people.
Here’s how to tell the difference in five seconds. Close the door and look at both cables. If they’re both taut, you’re dealing with wear – schedule it. If one cable is dangling loosely while the other is tight, or the door jerks and binds when you try to open it, you’re dealing with slack – stop using the door immediately and call a professional. In our experience as a Los Angeles garage door repair company, the homeowners who catch slack early end up paying for a simple cable replacement. The ones who run the door “just one more time” end up paying for a new panel, a track realignment, and sometimes a new door.
There’s a straightforward rule: wear is a maintenance item, slack is an emergency. The repair cost might be identical, but the collateral damage is not.
Warning Sign 3: Behavioral Signs Your Door Is Telling You Something
Cable problems don’t always announce themselves visually. Before you ever see fraying, you might notice the door behaving differently. These behavioral signs are often the first signal that a cable is degrading, and they’re worth taking seriously because they mean the door is already out of balance. An unbalanced door stresses every other component – the springs, the opener, the tracks, the hinges – and accelerates wear across the entire system.
Sign 1: The door is crooked on the way up. If one side of the door rises faster than the other, or the door looks tilted as it travels, the cables are no longer sharing the load evenly. This can come from a cable that has stretched slightly – still attached, still functioning, but no longer the same effective length as its partner – or from a cable starting to come off the drum. Either way, it’s a cable-level problem.
Sign 2: One side sits lower than the other when closed. A properly balanced door should meet the ground evenly across its full width. Noticed a gap at one corner, or a diagonal shadow under the door? That’s a cable out of sync. The low side is the side with the problem.
Sign 3: The opener is straining. If your opener sounds labored, if it hesitates mid-cycle, or if you hear the motor working harder on one part of the travel than it used to, the door is fighting itself. The opener is compensating for a balance problem that’s often cable-related. LiftMaster and Chamberlain openers have force-sensing technology that will actually stop the door if the resistance exceeds a safety threshold – if your door intermittently reverses for no apparent reason, the opener may be protecting itself from a cable imbalance you can’t see.
Sign 4: A sudden pop or bang followed by the door freezing. This is the one everyone recognizes but no one wants to experience. The pop is a cable snapping under tension. The door freezes because it’s now being held by one cable and it’s wedged against the track. If this happens, do not try to force the door. Do not keep hitting the opener button. Disconnect the opener (pull the red emergency release cord) and call a garage door cable repair specialist. A snapped cable on a double-wide door in Los Angeles – where many of us park two cars in that garage – can drop hundreds of pounds of door onto whatever is underneath it.
Warning Sign 4: The Nighttime Flashlight Check
Here’s a trick we teach every Los Angeles homeowner who calls us about cable concerns. Garage lighting comes from above, which means it shines down on cables and illuminates their smooth surfaces without revealing their texture. That’s why cables look fine under normal garage lights when they’re actually starting to shed wire strands. The fix is a low-angle light source.
How to do the nighttime flashlight check:
- Wait until dark, or close the garage door to block outside light.
- Stand about three feet from the vertical track, holding a flashlight at hip height.
- Aim the beam across the cable at a shallow angle – not straight at it.
- Run the beam slowly up and down the full cable length, watching for small shadows or bright glints.
- Pay special attention to the bottom 12 inches and the top 12 inches, where the cable bends or wraps.
Low-angle light makes broken wire strands cast tiny shadows against the intact cable, effectively “highlighting” damage that’s invisible under normal overhead lighting. The same technique picks up surface rust and early-stage cracking. This one check takes forty seconds once you know what you’re doing, and it’s the single best free diagnostic tool available to any homeowner.
The flashlight check matters more for cables that are 6+ years old. Newer cables rarely show visible surface damage, but once a cable has cycled several thousand times, micro-fractures start appearing at bend points – the bottom bracket curve and the drum wrap. Those are exactly the zones where low-angle light reveals the most.
Warning Sign 5: Rust, Corrosion, and Los Angeles Climate Factors
Los Angeles isn’t typically thought of as a rust belt, but the city’s climate creates some specific corrosion conditions for garage door hardware. The marine layer that rolls through coastal Los Angeles neighborhoods – Santa Monica, Venice, Playa del Rey, Mar Vista – leaves a fine salt residue on everything it touches. If your garage doesn’t have perfect sealing, that salty moisture circulates through the cable system every night, accelerating oxidation far faster than homeowners expect.
Inland areas face a different issue: the dry heat of the San Fernando Valley cycles garage temperatures dramatically between day and night, causing condensation on metal surfaces as the air cools. A garage in Woodland Hills or Northridge might have cables that rust from the inside out, where moisture collects in the tiny spaces between wire strands and corrodes the cable’s core before the surface shows significant damage.
Rust is a structural problem, not a cosmetic one. When rust forms on a cable, two things happen. The rust itself is brittle and creates points where wire strands can fracture under load. And rust increases the cable’s coefficient of friction against the drum, meaning the cable doesn’t slide into its grooves as smoothly – it catches, scrapes, and wears faster. Every cycle does incremental damage.
What does this mean practically? If you live within five miles of the coast in Los Angeles, inspect your cables every other month. If the cable shows visible rust patches, especially near the bottom bracket or along the drum wrap, replace it before it fails. A rust-damaged cable is a scheduled replacement, not an emergency – until it isn’t. With our written price before any work starts, you’ll know exactly what replacement costs before you commit.
How Much Does Cable Repair Cost in Los Angeles?
Cable repair pricing in Los Angeles is more transparent than most homeowners expect. Let’s be specific: a single garage door cable replacement typically runs $150 to $240 including parts and labor, depending on cable type, door weight, and whether you have standard or high-lift track configuration. Replacing both cables at once – which we recommend when one has failed, since the other has identical age and wear – generally falls between $220 and $380.
Here’s the breakdown of what components affect the price:
- Cable type: Standard 7×19 aircraft-grade cables run about $25 – $45 per cable in Los Angeles. Heavier-duty options for oversized doors add $15 – $30.
- Labor: Cable replacement involves safely releasing tension from the spring system, which requires training and specific tools. You’re paying for expertise and safety, not just the part.
- Inspection and adjustment: A proper cable replacement includes re-balancing the door and checking both cables, the drums, and the springs. This should be part of the labor, not a separate line item – if a company quotes you separately for “cable replacement” and “door balancing,” ask why.
- Emergency service: Same-day or after-hours cable repair in Los Angeles still falls in a reasonable range – expect $180 – $290 for a single cable replacement with emergency dispatch.
At Marlow Garage Door Repair, we’re clear about one thing: the price we quote is the price you pay. You’ll see a written number before any wrench turns, and that number doesn’t change when the job is done. For a full breakdown of what affects garage door repair costs in this market, see our Garage Door Repair in Los Angeles page. If you’re specifically dealing with spring issues alongside your cables, our Garage Door Spring Repair in Los Angeles guide explains the interaction between these components and what combined repairs cost.
Why You Should Not DIY a Garage Door Cable Replacement
We’re going to be direct here because people get hurt doing this. Garage door cables operate under enormous tension. They’re connected to a torsion spring system that stores enough energy to lift a 150 to 400 pound door. When a cable snaps or needs replacement, the spring’s tension has to be managed precisely, or the stored energy releases unpredictably. That’s not an exaggeration – it’s physics, and it’s the same physics behind every emergency room visit we’ve seen attributed to DIY garage door repairs.
The most common DIY failure point isn’t even the spring – it’s the cable’s attachment at the bottom bracket. That bracket is under constant load. If you loosen it without properly securing the door, the bracket can separate with enough force to break bones. Homeowners also make the mistake of replacing just the cable without addressing why the cable failed. Cables fail for reasons: a misaligned track, a failing bearing in the drum, a spring losing tension. Replace the cable without fixing the cause and the new cable fails within months.
There’s also a specific risk with Craftsman and Raynor doors: older models of these brands use cable configurations that are less forgiving of installation errors. A cable that’s an inch too long or too short on a Raynor residential door causes immediate balance problems. If you’re not experienced with the specific geometry of your door’s cable path, you’ll create a problem that’s more expensive to fix than the original repair.
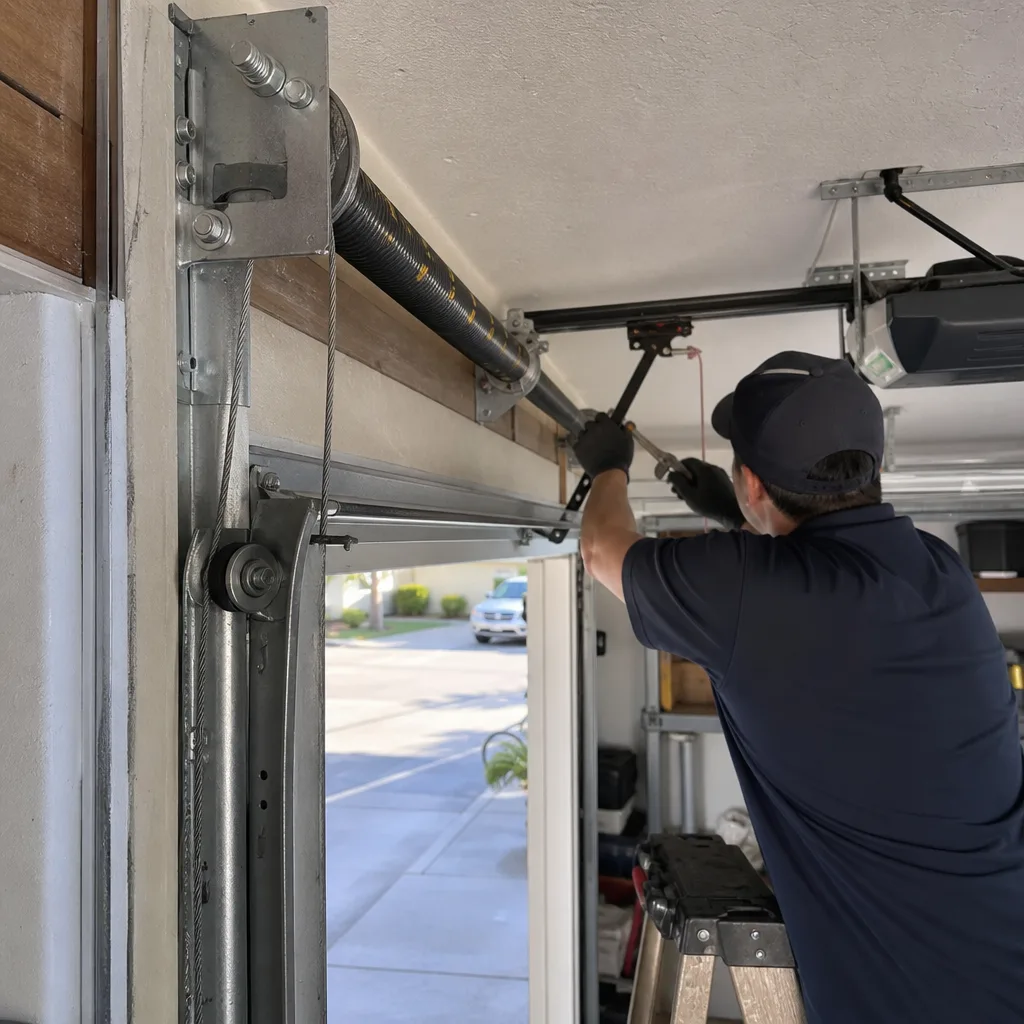
Our position is unambiguous: this is a job for a trained professional. The good news is that cable replacement is a relatively quick, straightforward repair for someone who works on garage doors daily. Most cable replacements take a technician 30 to 60 minutes, and with companies like Marlow Garage Door Repair home, you’ll get a written quote before the work starts and a full year of coverage after it’s done.
Common Mistakes to Avoid
- Ignoring a crooked door for months. A door that rises unevenly is actively damaging its tracks, rollers, springs, and opener. Every cycle with that imbalance is compounding wear. The cable repair you could have done for $180 becomes a $600+ multi-component repair. Address imbalance the week you notice it.
- Spraying WD-40 on the cables. Lubricating cables feels like maintenance, but cable friction isn’t your friend’s problem – it’s usually a symptom of misalignment. Wet lubricants attract dust and grime, turning your cables into sandpaper-covered tension lines. If you’re lubricating, use a dry silicone spray on the rollers and hinges only, and keep it off the cables entirely.
- Replacing one cable and calling it done. Cables are installed in pairs and wear at roughly the same rate. When one snaps, its partner has identical mileage, identical age, and identical stress history. Replacing both cables costs marginally more than one but prevents a second service call six months later. Good technicians in Los Angeles will tell you this. Anyone quoting you a single-cable replacement without mentioning the pair option is either cutting corners or hoping for a repeat visit.
- Running the door manually with a snapped cable. After a cable snaps, every cycle of the door scrapes the unbalanced panel against the track, bends the track, and stresses the single remaining cable. The door won’t “just work” manually – it will get more expensive to fix. Disconnect the opener and leave the door alone until a technician arrives.
- Assuming the opener problem is an opener problem. Genie and LiftMaster openers are engineered with obstacle-detection and force-monitoring. If your opener starts reversing mid-cycle or refusing to close, a cable problem is often the root cause. Replacing an opener that isn’t broken is a $400 – $600 mistake. Diagnose the door’s balance first.
- Waiting until a cable snaps to check the other one. Your cables are identical in age, brand, and wear. If one has frayed to the point of failure, the other is weeks or months behind. When you spot significant fraying on one cable, inspect its partner in the same session. You’ll likely see the same early signs – and saving that information makes your repair quote more accurate.
- Hiring based on price alone without checking warranty. A $99 cable replacement sounds great until it fails in three months and the company won’t return your calls. Ask what the workmanship warranty is. We back every cable repair with a 365-Day Done Right Promise – a full year of coverage, in writing. If the cable fails because of something we missed, we return and fix it at no cost. That’s the difference between a price and a value.
When to Call a Professional
You should call a garage door cable professional the moment you notice any of the following: visible fraying at the bottom bracket or drum, one cable slack while the door is closed, a snapped cable, a door that’s noticeably crooked or stuck, or rust that’s flaking off the cable surface. These conditions don’t improve with time and they don’t fix themselves. What they do is get worse – often dramatically – with each additional cycle of the door.
The threshold for “call now” vs. “schedule this week” is simple. Slack, snap, or stuck door: call now – that’s an emergency. Fraying, rust, or mild imbalance: schedule it this week – you have a window, but it’s closing. Either way, you’ll get a written price before any work starts when you book through our team. Marlow Garage Door Repair offers free estimates in Los Angeles – call (512) 883-4374 for a cable inspection or a same-day repair quote. You can also book online in seconds and see your technician’s live arrival time before they roll up.
Frequently Asked Questions
Garage door cables typically last 8 to 12 years in Los Angeles, though homes within a few miles of the coast often see shorter lifespans of 6 to 9 years due to salt air corrosion. Cable lifespan tracks door usage – a household that cycles the door 8 to 10 times daily will wear cables faster than one that opens the garage twice a day. Regular inspection of the bottom bracket area and drum wrap will catch wear before failure regardless of age.
You can, but you shouldn’t. Cables are installed in pairs and wear at nearly identical rates. When one cable fails, its partner has the same age, the same cycle count, and similar accumulated stress. Replacing both cables at once costs $220 – $380 in Los Angeles versus $150 – $240 for a single cable, and the pair replacement prevents a second labor charge six months later when the other original cable fails. Ask any experienced technician and they’ll recommend both.
A single garage door cable replacement in Los Angeles typically runs $150 to $240 including parts and labor, while replacing both cables costs $220 to $380 depending on cable type and door configuration. Emergency same-day service lands in the $180 – $290 range for a single cable. You’ll see a written quote before any work begins, and that number is locked. For a complete breakdown of garage door repair costs across Los Angeles neighborhoods, see our Garage Door Cable Repair in Los Angeles page.
Garage door cables come off the drum when the door experiences an abrupt stop or reversal – most commonly because a spring broke mid-cycle, the door hit an obstruction, or the cable lost tension from wear. Once a cable jumps the drum, it typically gets pinched between the drum and the torsion bar, causing immediate kinking damage. A cable that’s jumped the drum should be replaced rather than reseated, because the pinch point compromises the cable’s structural integrity.
Yes – a frayed cable is a warning that the cable is losing its load-bearing capacity, and the failure mode of a garage door cable is sudden, not gradual. The fraying you see represents individual wire strands that have already broken; the remaining wires are carrying the same load with less material. When enough strands fail, the cable snaps without warning and the full weight of the door transfers to a single cable, or to nothing. Treat visible fraying as a scheduled repair that needs to happen within weeks, not months.
You shouldn’t. A garage door with a damaged cable is unbalanced, and an unbalanced door can fall or jam without warning. Driving under it puts you directly in the path of a multi-hundred-pound failure. Disconnect the opener, park outside the garage if you must use that space, and have the cable inspected before returning the door to service. The risk isn’t worth the convenience – and in Los Angeles where many homes use the garage as primary vehicle storage, the alternative is a street parking ticket, not a house fire. Call (512) 883-4374 for a quick cable assessment.
The Bottom Line
Garage door cables give you a long warning before they fail – but only if you’re looking in the right places. The bottom bracket, the drum wrap, and the mid-cable run are the three zones where damage first appears, and a low-angle flashlight check will reveal fraying that overhead lights hide. Learn what a healthy cable looks like so you can spot the difference. Distinguish between wear (schedule it) and slack (stop using the door). And when you do need a professional, demand the same transparency you’d expect from any other service: a written price before work starts, a clear explanation of what failed and why, and a warranty that means something. Those are baseline expectations in Los Angeles garage door repair, not premium upgrades. For more guides & resources on keeping your system safe and reliable, explore our blog.
Written by Jaylen Ross, Owner at Marlow Garage Door Repair, serving Los Angeles since 2002.