
Last updated October 9, 2026
Full 25-point door and opener safety check with every visit - springs, cables, rollers, tracks, and your LiftMaster or Chamberlain opener included
You get a price before we start. It does not change when the truck arrives.
 Before
 After
After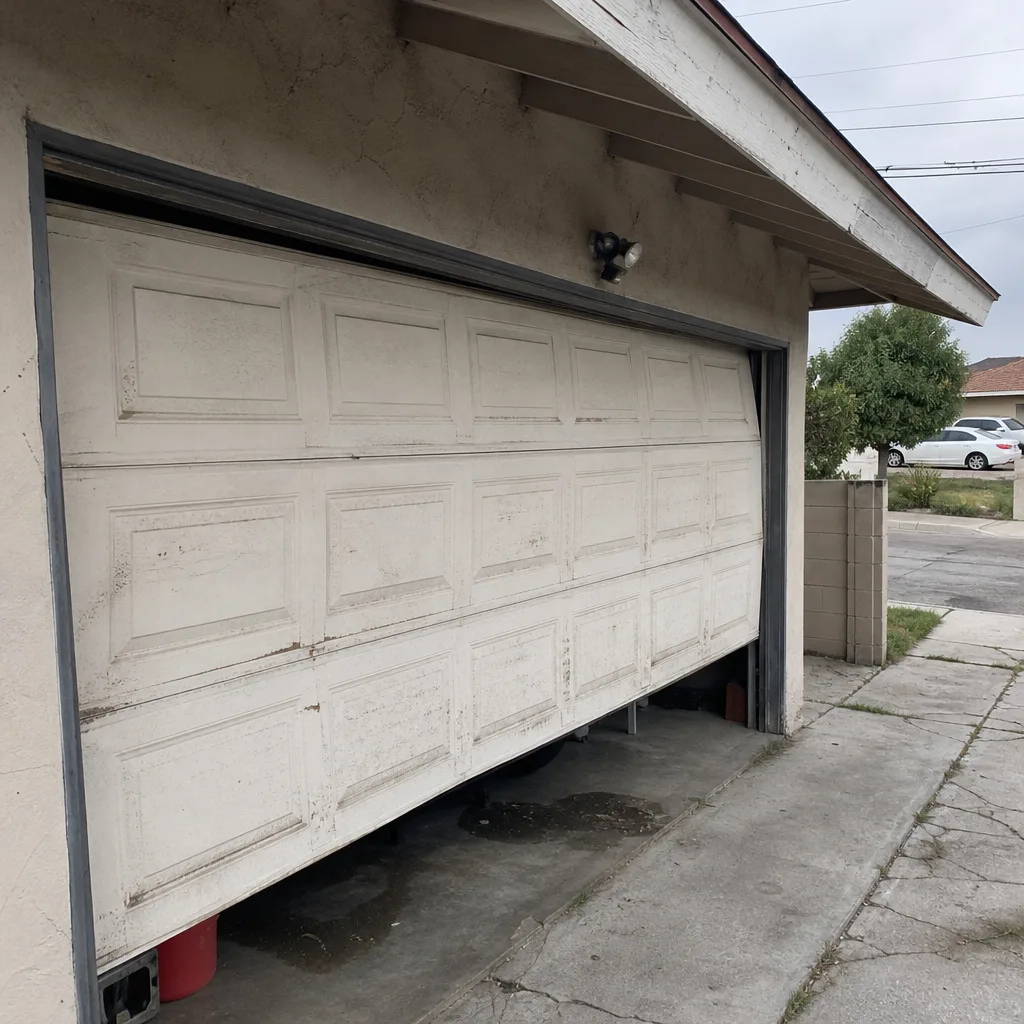 Before
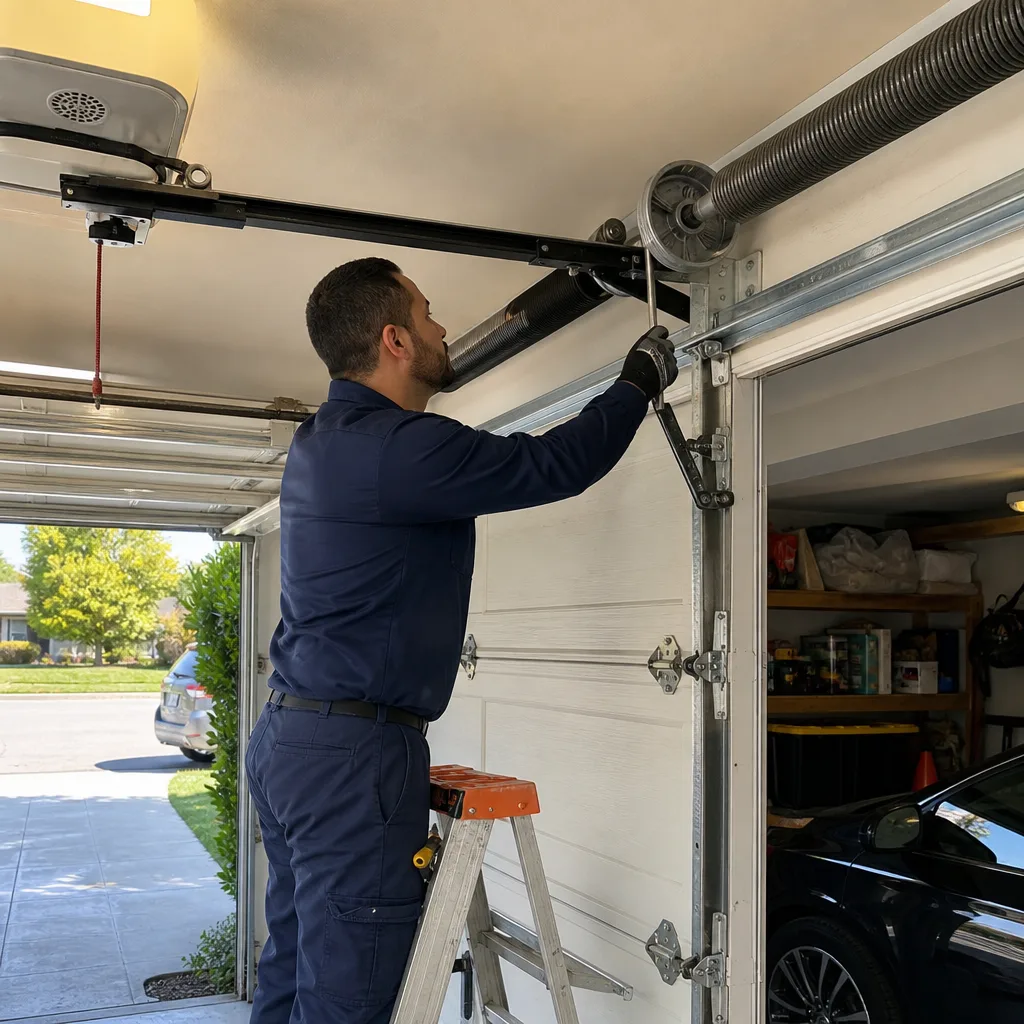 After
After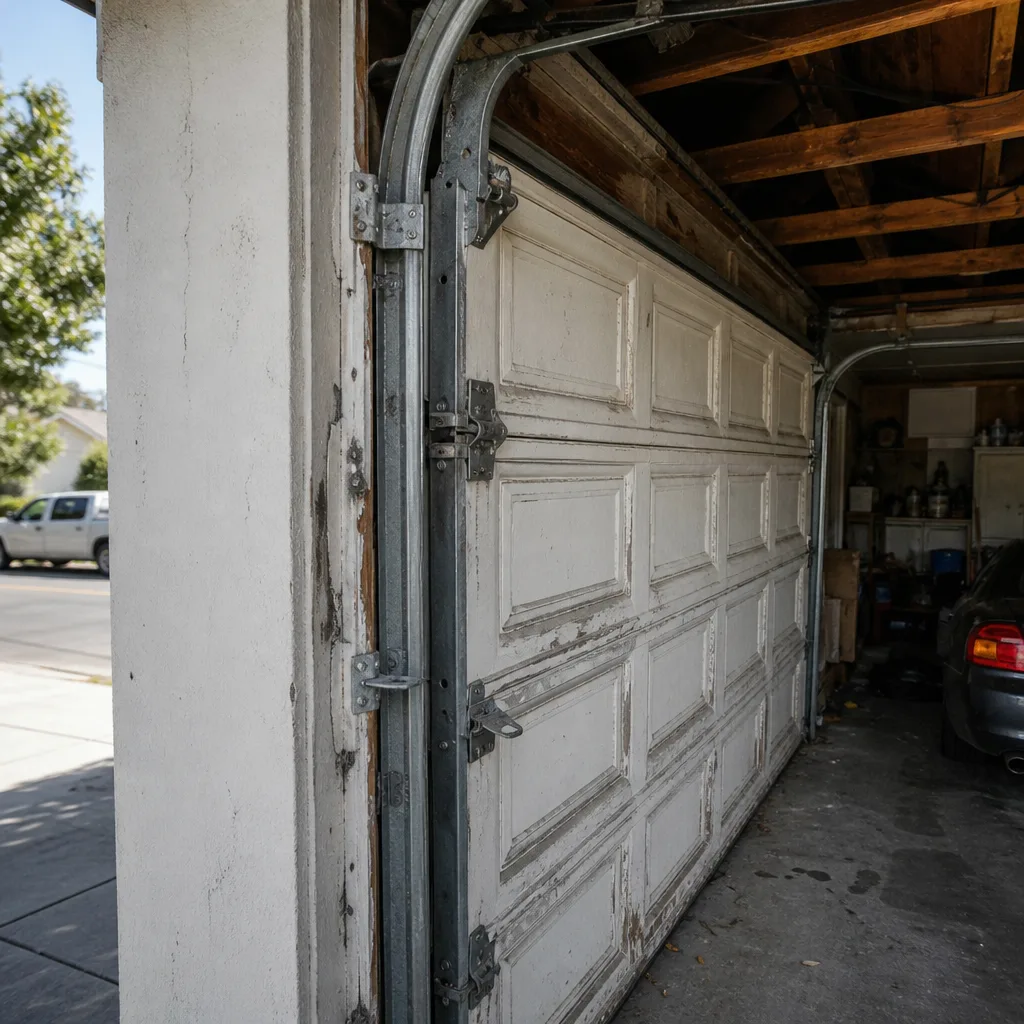 Before
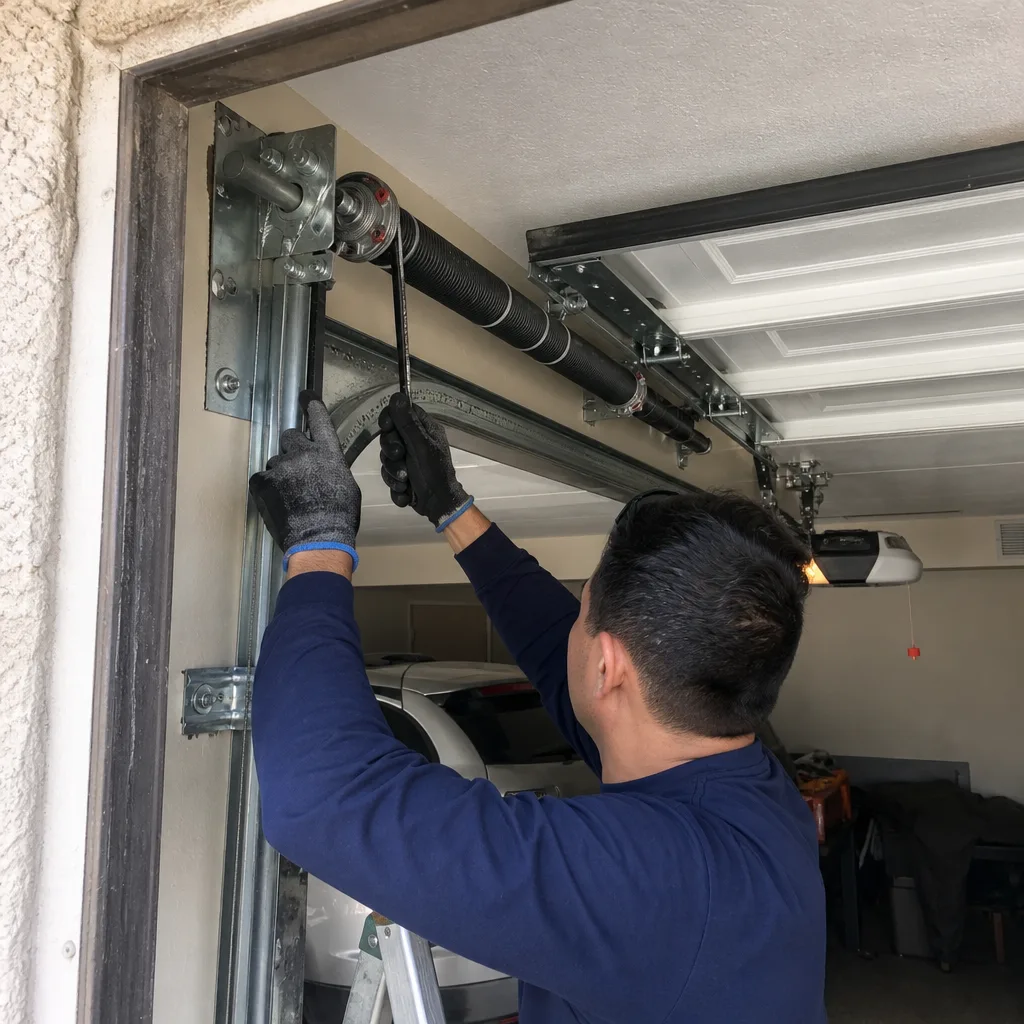 After
AfterDIY vs Professional Garage Door Repair: What’s Safe to Do Yourself
Torsion springs store enough energy to break a wrist in under a second. But the safety sensor making your door reverse for no reason? That’s a 10-minute fix that costs zero dollars. The DIY vs. professional debate for garage doors isn’t really about how handy you are. It’s about which components carry genuine injury risk and which ones are just inconvenient if you get them wrong. This guide draws that line with precision so you stop paying for $30 sensor alignments and never, ever touch a torsion spring. We’re writing this from Los Angeles, where we’ve repaired thousands of doors since 2002, and we’ll tell you exactly what we tell our neighbors.
Quick Answer
Three garage door repairs are genuinely safe for homeowners: cleaning and aligning photo-eye safety sensors, reprogramming remote controls or keypads, and replacing bottom weather seals. Everything involving torsion springs, extension springs, cables, drums, and track work carries real injury risk or requires specialty tools and calibration. If the repair touches the spring system, cables, or drum, call a professional.
Table of Contents
- Safe DIY Repairs: What You Can Absolutely Do Yourself
- Never DIY: The Components With Real Injury Risk
- The Physics of Torsion Spring Tension Explained Plainly
- Three Legitimate DIY Projects With Step-by-Step Instructions
- The Hidden Cost of DIY Mistakes: The Real Math
- What to Have Ready Before a Pro Arrives
- Los Angeles-Specific Garage Door Considerations
Safe DIY Repairs: What You Can Absolutely Do Yourself
We’ll be upfront here, and it might surprise you. Some garage door repairs are so simple that calling a professional for them is like calling an electrician to change a light bulb. You’d be paying $90 for something that takes less time than brewing coffee.
The safe DIY list comes down to three categories: photo-eye sensor alignment, remote and keypad reprogramming, and weather seal replacement. None of these involve stored mechanical energy. None of them put any part of your body near a spring or cable under tension. And none of them require a tool you probably don’t already own.
Here’s the definitive breakdown:
- Photo-eye sensor alignment and cleaning: Those two little units on either side of your door opening, mounted about six inches off the ground. If the door reverses when closing or won’t close at all, this is usually the culprit. Safe, free, and a 10-minute fix.
- Remote control and keypad reprogramming: New remote, dead keypad, or a code that stopped working after a power outage. The programming instructions are printed in your opener’s manual or available online. No tools beyond a ladder to reach the opener’s “Learn” button.
- Bottom weather seal replacement: The rubber strip on the bottom of the door that keeps rain, leaves, and the occasional lizard out. It slides out and slides back in. A utility knife is the most advanced tool you’ll need.
- Visual inspection and lubrication: Looking at rollers, hinges, and tracks to spot obvious wear, and applying white lithium grease to metal parts. You’re not disassembling anything. You’re just observing and lubricating.
- Tightening loose hinge bolts and roller brackets: If a hinge is visibly loose and you can reach it with a socket wrench while the door is down, tightening it is fine. Don’t touch anything near the spring assembly.
The common thread: these repairs involve parts that are accessible, visible, and not under dangerous tension. If you can see it clearly and it isn’t a spring or cable, you’re probably in safe territory.
Never DIY: The Components With Real Injury Risk
Now the line gets drawn. Some garage door components can genuinely injure you, and not in a “watch out for splinters” way. We mean emergency-room injuries. Lost fingers. Broken bones. These are the parts that store mechanical energy or require calibrated tools that cost more than the service call itself.
The definitive never-touch list:
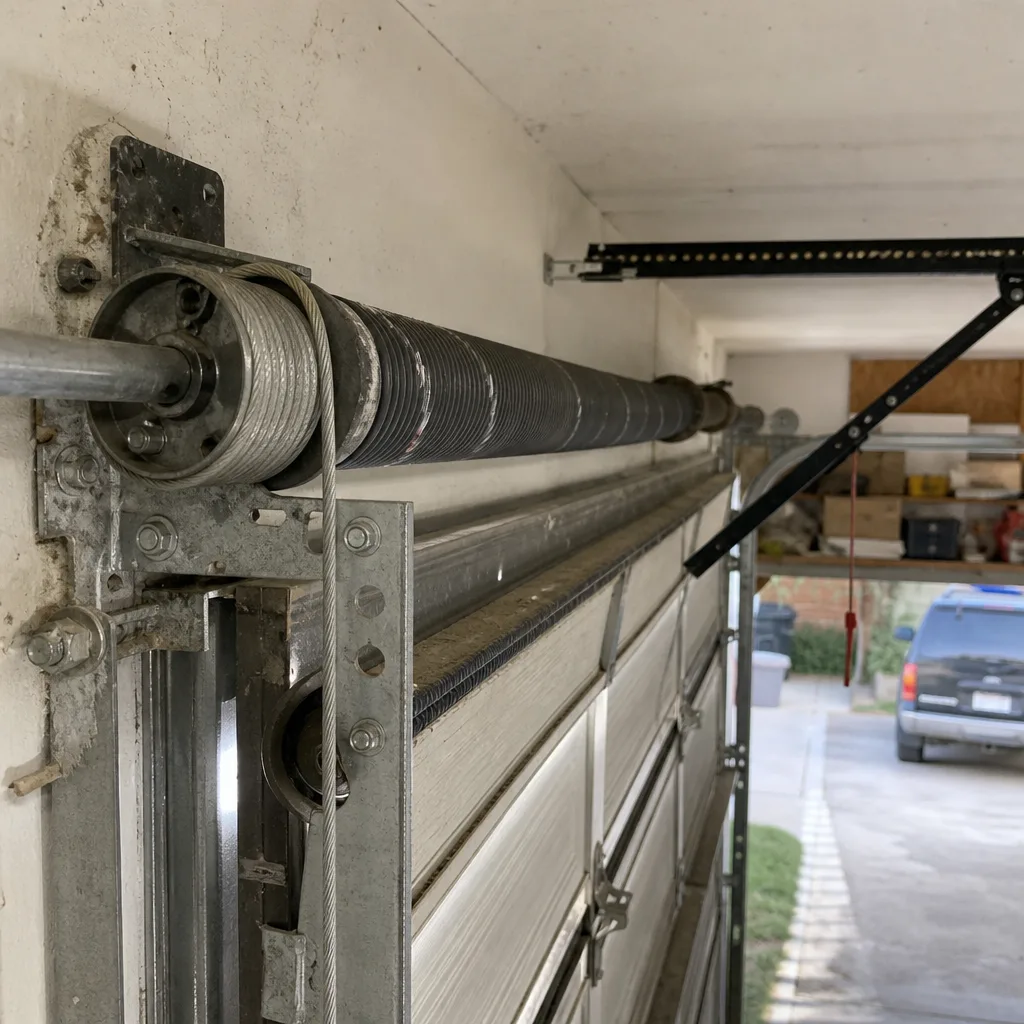
- Torsion springs: The horizontal coil mounted above the closed door. It holds the door’s entire weight in twisted steel. If it snaps or releases while you’re working on it, the recoil can shatter bone. This is the number one cause of garage-door-related emergency room visits in the United States.
- Extension springs: The long springs running parallel to the tracks on either side. Same energy storage, same risk profile. These stretch and release with enormous force.
- Cables: The steel cables that run through the springs and attach to the bottom of the door. They’re under constant tension. If one frays and snaps while you’re working nearby, it can whip across the room fast enough to cut through clothing and skin.
- Cable drums: The grooved wheels at the top of the door that the cables wrap around. Removing or adjusting them requires releasing spring tension first. Skip this.
- Complete track replacement or major track repair: Bending a track back into shape is sometimes possible, but replacing a section or re-hanging a track that’s come loose from the wall involves working near the spring system and door weight. The door can fall if you disconnect the wrong thing.
- Garage door opener motor replacement: The motor itself isn’t dangerous, but the installation involves adjusting travel limits and force settings, and you’ll be working on a ladder directly beneath the torsion spring assembly. If anything goes wrong, you have no leverage and no safe exit.
We say this from experience, not from liability paranoia. Jaylen Ross, who owns Marlow Garage Door Repair, has seen the aftermath of a homeowner who tried to replace their own torsion spring with a pair of vice grips and a YouTube tutorial. The hospital bill was four times what the spring replacement would have cost. The door was still broken when they got home.
The Physics of Torsion Spring Tension Explained Plainly
A torsion spring doesn’t just hold your garage door up. It stores energy by twisting. When the door is closed, the spring is wound tight. When you open the door, the spring unwinds, releasing that stored energy to do the heavy lifting. Your opener motor isn’t lifting the door. The spring is. The motor just guides the process.
Here’s what that means in practical terms:
- A standard residential garage door weighs between 130 and 400 pounds, depending on materials. A solid wood door in a Los Angeles bungalow can weigh as much as an adult grand piano.
- The torsion spring counterbalances that entire weight. When you disconnect the opener and lift the door manually, you’re only lifting about 8 to 10 pounds. The spring handles the rest.
- To install or remove a torsion spring, you have to wind or unwind it using winding bars inserted into the spring cone. Each quarter-turn of the winding bar adds stored rotational force. A typical torsion spring needs 28 to 34 quarter-turns to reach proper tension.
- That’s roughly 30 chances to slip. If the bar slips out of the cone while under tension, the spring unwinds instantly. The bar becomes a projectile. Your hand, wrist, or face is usually in the way.
- Extension springs fail differently but just as violently. When one snaps, it becomes a steel whip moving at roughly 70 miles per hour for the first few feet of travel.
Compare that to a photo-eye sensor, which runs on 12 volts and can’t injure anything except maybe your pride if you trip over it. The danger in garage door repair isn’t random. It’s concentrated in exactly one place: the spring system and anything connected to it. That’s the line. Everything on one side is safe. Everything on the other side is not.
Three Legitimate DIY Projects With Step-by-Step Instructions
Now we’ll walk you through the three repairs we told you were safe. Each one takes under 30 minutes and requires no specialized tools.
Project 1: Aligning Photo-Eye Safety Sensors
This is the most common garage door problem in Los Angeles, especially in older homes where the concrete driveway has shifted over decades of earthquakes and soil movement. When the door starts closing and then immediately reverses, or refuses to close at all and the opener light blinks, the sensors are usually misaligned.
- Locate both sensor units on either side of the door opening, about six inches from the floor.
- Check the indicator light on each unit. Both should be lit solid, not flickering. If one is dark or blinking, that’s your problem side.
- Loosen the wing nut holding the dark sensor in place. Don’t remove it. Just loosen.
- Aim the sensor at the unit on the opposite side of the door, then tighten the wing nut just enough to hold it in place.
- Watch the light. When it turns solid, you’ve got alignment. If it’s still blinking, check for spider webs, dust, or direct sunlight hitting the lens. Los Angeles afternoon sun can blind a sensor facing west.
- Tighten the wing nut fully and test the door.
If both lights are lit and the door still reverses, the sensors may be wired incorrectly or genuinely failed. That’s a cheap professional fix, and we carry replacement sensors on the truck for every Garage Door Repair in Los Angeles call.
Project 2: Reprogramming a Remote or Keypad
New remote, dead keypad, or a code that stopped working after a power outage. The programming process is controlled by the learn button on your opener motor. Works for most Chamberlain, Genie, and Craftsman units made after 1995.
- Grab a step ladder and locate the “Learn” or “Program” button on your opener motor. It’s typically behind a light cover, colored yellow, purple, red, or green depending on brand and age.
- Press and release the Learn button. An LED light next to it should illuminate or blink. You now have about 30 seconds.
- On your remote, press the button you want to program for three seconds. The opener light should flash or you’ll hear a click. The remote is now paired.
- For keypads, enter your desired 4-digit code, then press Enter. The opener should confirm with a click or a light flash.
- To clear all existing codes from a used opener or a home you just bought, press and hold the Learn button for 6 to 10 seconds until the LED goes out. This erases every remote and keypad, then you reprogram only your own devices from scratch.
A note for Los Angeles renters and new homeowners: if you just moved in, clearing codes is a security step we recommend on day one. You don’t know how many previous tenants, contractors, or house sitters have remotes paired to that opener.
Project 3: Replacing a Bottom Weather Seal
That rubber strip on the bottom of your door keeps leaves, dust, and rain out. In Los Angeles, it also keeps the summer heat and the occasional garage-dwelling critter from finding a way in. When the seal is cracked, brittle, or leaving a visible gap of light at the bottom of the door, it’s time.
- Measure the width of your door. Standard residential doors are 8, 9, or 16 feet wide. Buy a replacement seal of matching width. Universal seals fit most brands, including Clopay and Amarr doors.
- Close the door, then pull out the old seal. It slides through a retainer channel on the bottom of the door. If it’s stuck, spray a little silicone lubricant into the channel.
- If the old seal has screws or glue holding it in place, remove those. Most are friction-fit and simply slide out.
- Slide the new seal into the channel from one end. Center it so the excess is equal on both sides, then trim with a utility knife.
- Close the door and check for gaps. If the seal is slightly long, trim a little more.
Total time: 15 minutes. Total cost: $20 to $40. Total risk: none. This is what DIY garage door repair looks like when it makes sense.
The Hidden Cost of DIY Mistakes: The Real Math
Here’s where we get honest about money. DIY garage door repair saves you money in exactly three situations: sensor alignment, remote programming, and weather seal replacement. That’s it. Those are the $0 to $40 fixes. Beyond that, the math flips fast.
Here’s the real cost comparison from what we’ve seen on Los Angeles service calls:
- Stripped cable drum: A homeowner tries to replace a cable without releasing spring tension. The drum spins, the cable birds-nests, and the set screws strip. Professional repair: $150 to $250 for a new drum and proper cable re-wrap. DIY mistake cost: the same drum repair plus a possible spring replacement if the spring unwound unevenly, pushing the bill to $400 or more.
- Bent track from pulling a jammed door: When the door jams, the temptation is to yank on it. If the door is off its track and you force it, the track bends. Track replacement runs $200 to $400. If the door was simply bound by a broken spring, you’ve now added a track repair to a spring replacement you needed anyway.
- Opener travel limit confusion: A homeowner replaces their own opener and sets the travel limits wrong. The door slams down hard, damaging the bottom panel. Panel replacement: $300 to $700. Proper opener installation would have been $150 to $250.
- The “I already bought the part” trap: Springs ordered online for $60. The homeowner winds it wrong, damages the spring cone, or can’t get the tension right. The spring they bought is now unusable. The professional charge is the same as if they’d never attempted it: $150 to $290 for a professional spring replacement, plus the $60 they wasted. They paid more to do it twice.
Our rule of thumb: if the repair involves a part that’s under tension or holds the door’s weight, the DIY upside is $50 to $80 saved and the downside is a $200 to $500 mistake. That’s a bad bet. If the repair involves a part that’s non-structural and easily visible, DIY almost always wins.
What to Have Ready Before a Pro Arrives
If you’ve decided to call a professional, you can make the visit faster and cheaper by preparing. This matters because some Los Angeles garage door companies charge hourly, and an extra 30 minutes of diagnosis is an extra $50 to $75 on your invoice. Marlow Garage Door Repair quotes a flat written price before we start, but preparation still gets your door fixed faster.
Have this ready:
- The opener brand and model number. Look on the motor unit for a label. The make and model tell us which parts we’re likely to need from the truck. Confirm whether it’s Chamberlain, Genie, or another brand before calling.
- A description of what the door does when it malfunctions. Does it reverse when closing? Refuse to open? Open a few inches and stop? Make a grinding noise? Write down exactly what you observe.
- How old the door is. If you know the installation year, great. If not, approximate based on when the house was built or when you moved in. Door age tells us which parts are at end-of-life and what’s worth repairing versus replacing.
- Any recent work done on the door. If a handyman adjusted the springs last year, or you replaced a panel after hitting it with your car, tell us. Recently adjusted doors fail in predictable ways.
- Clear access to the garage. Move cars out, clear boxes away from the door tracks, and make sure there’s room to work. In Los Angeles garages, which are often storage units more than car parks, this saves real time.
That’s the difference between a 30-minute visit and a 90-minute one. And if you’re paying hourly rates, that’s the difference between $90 and $225.
Los Angeles-Specific Garage Door Considerations
Garage doors behave differently in Los Angeles than they do in Phoenix or Minneapolis, and some of that involves our climate and geology. Here’s what we see most often on LA service calls:
- Earthquake damage: Minor quakes shift concrete slabs and framing. A door that worked fine last month suddenly drifts off track or the sensors no longer align. This is common in older neighborhoods like West Adams, Highland Park, and the San Fernando Valley.
- Coastal corrosion: Homes within five miles of the ocean in Santa Monica, Venice, and Playa del Rey get salt air corrosion on springs, cables, and hardware. Springs near the coast fail 20 to 30 percent sooner than identical springs inland.
- Sun-damaged seals: The intense Southern California sun dries out rubber weather seals in two to three years. If your garage faces west, expect faster deterioration.
- Heat and opener electronics: Garage interiors can hit 110 degrees in August. Opener circuit boards, especially older Genie and Chamberlain units, fail more often in uninsulated garages that bake all day.
- Spring cycle ratings: Torsion springs are rated in cycles, typically 10,000 cycles for economy springs and 20,000 to 30,000 for high-cycle upgrades. In Los Angeles, where many homeowners open and close the garage multiple times daily, a 10,000-cycle spring might fail in just four to five years.
If you’re dealing with spring trouble, our Garage Door Spring Repair in Los Angeles page covers pricing and symptoms in detail. Same for Garage Door Cable Repair in Los Angeles if you’re seeing frayed steel or a door that hangs unevenly.
Common Mistakes to Avoid
- Attempting any spring work with improvised tools. Vice grips, screwdrivers, and rebar are not winding bars. A real winding bar costs $15 for a set, but even with the right tools, the skill and safety knowledge matter more than the equipment.
- Disconnecting the opener from a door that’s already under spring tension. If the spring is broken, the door is dead weight. Pulling the emergency release cord with the door up can cause the door to slam down. If the door is up and the spring is broken, call a professional before touching the release mechanism.
- Ignoring a frayed cable. Cables don’t heal. A frayed cable gets worse every time the door opens and closes. Waiting until it snaps turns a $150 cable replacement into a $400 repair with potential door panel damage.
- Lubricating with WD-40. WD-40 is a solvent, not a lubricant. It cleans and then evaporates, leaving metal parts drier than before. Use white lithium grease on hinges and rollers, and a silicone spray on the weather seal and track. Doing this once a year extends hardware life significantly.
- Over-tightening hardware. Crank down on a hinge bolt hard enough and you’ll strip the threads or distort the hinge. Snug is enough. This sounds obvious, but we replace stripped hinges every month.
- Waiting for the door to fail completely before calling. A noisy door, a slow opener, a visible sag on one side. These are warnings. Fixing the warning sign is cheaper than fixing the breakdown. In Los Angeles, where garage doors get daily use and coastal homes face accelerated corrosion, catching problems early saves real money.
- Buying parts before diagnosis. We’ve seen homeowners buy a $80 circuit board for a door that only needed a $15 sensor alignment. Diagnose first. If you can’t diagnose it confidently, get a professional opinion before spending money on parts you might not need.
When to Call a Professional
Call a professional when the repair involves any spring, any cable, the cable drum, or a track issue that’s beyond a simple tightening. Call when the door is stuck open and you can’t safely close it. Call when you’ve tried the safe DIY fixes and the problem persists. And call when the issue is intermittent enough that you can’t identify the cause with confidence.
Marlow Garage Door Repair offers free estimates throughout Los Angeles. You’ll get a written price before any work starts, and every repair carries the 365-Day Done Right Promise. If the fix doesn’t hold for a full year, we return and make it right at no charge. Call (512) 883-4374 or visit the Marlow Garage Door Repair home page to book online.
Frequently Asked Questions
Spring replacement in Los Angeles typically runs $150 to $290 for a standard torsion spring, including parts and labor. High-cycle springs or double-spring systems run $300 to $450. Coastal neighborhoods like Santa Monica and Venice often need corrosion-resistant springs, which add $30 to $50 to the total. Call (512) 883-4374 for an exact written quote, free of charge.
Replacing a torsion spring yourself is not safe under any circumstances, regardless of your skill level or the tools you own. Torsion springs store thousands of pounds of torsional force, and a slip during winding can cause severe injury. Even experienced technicians approach these springs with specific tools, training, and full respect for the energy they hold. Hire a professional for any spring work.
Photo-eye sensor alignment is the most common DIY garage door repair, and it’s also the easiest. When the door reverses while closing or won’t close at all, the sensors are usually misaligned, dirty, or blinded by direct sunlight. Adjustment takes about 10 minutes and requires nothing more than a wrench and a little patience.
With Marlow Garage Door Repair, no. The written price you receive before work begins is the exact price you pay when the job is done, every time. If we find additional issues during the repair, we show you a new written price and get your approval before doing anything else. The number on your invoice always matches the number you agreed to.
Yes. Our technicians carry the most common replacement parts for the eight major brands we service, including Chamberlain, Genie, and Amarr. Torsion springs, extension springs, cables, sensors, weather seals, rollers, and hinge hardware are all on the truck for every service call. The goal is one visit, one fix, same day.
Most spring replacements and cable repairs take 45 to 90 minutes on site. Sensor alignments, remote programming, and weather seal replacements take 15 to 30 minutes. If you’ve prepared the garage by clearing access and having your opener brand ready, the visit moves faster regardless of the repair type.
The Bottom Line
DIY garage door repair makes sense for exactly three things: sensor alignment, remote and keypad programming, and weather seal replacement. Those are low-risk, low-cost fixes that save you a service call and take under 30 minutes. Everything else, especially anything touching springs, cables, or drums, belongs in professional hands. The line isn’t about courage or how handy you are. It’s about stored energy and the cost of a mistake. Align your sensors, reprogram your remote, replace your seal. Call a professional for the rest.
Written by Jaylen Ross, Owner at Marlow Garage Door Repair, serving Los Angeles since 2002.