
Last updated October 9, 2026
Full 25-point door and opener safety check with every visit - springs, cables, rollers, tracks, and your LiftMaster or Chamberlain opener included
You get a price before we start. It does not change when the truck arrives.
 Before
 After
After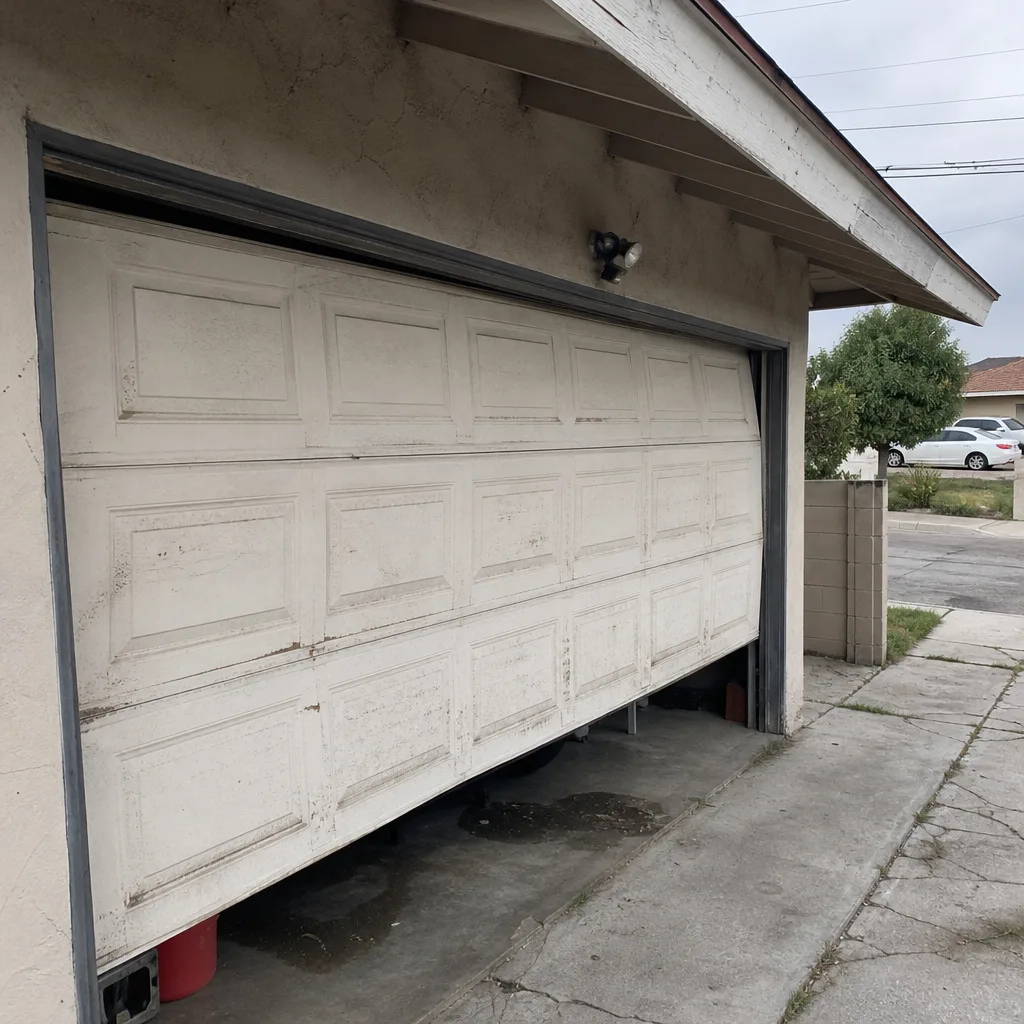 Before
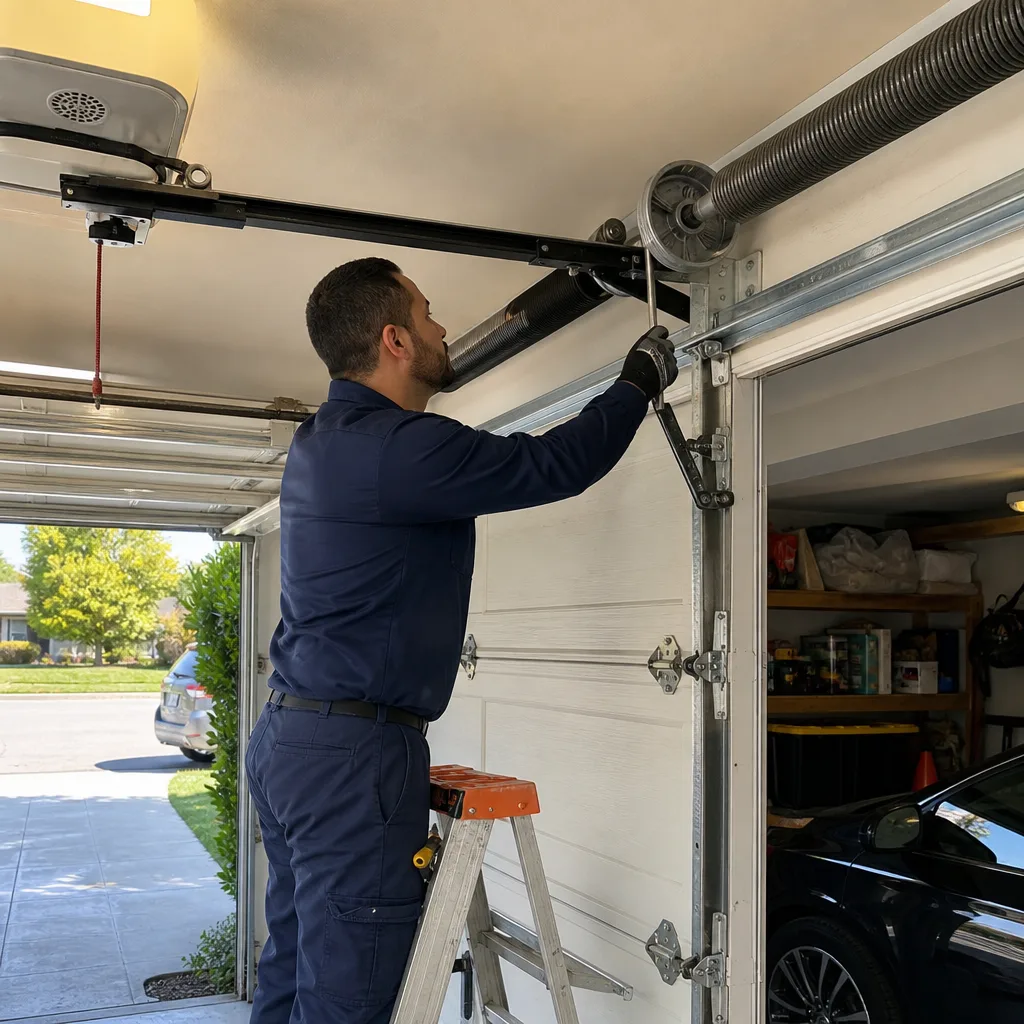 After
After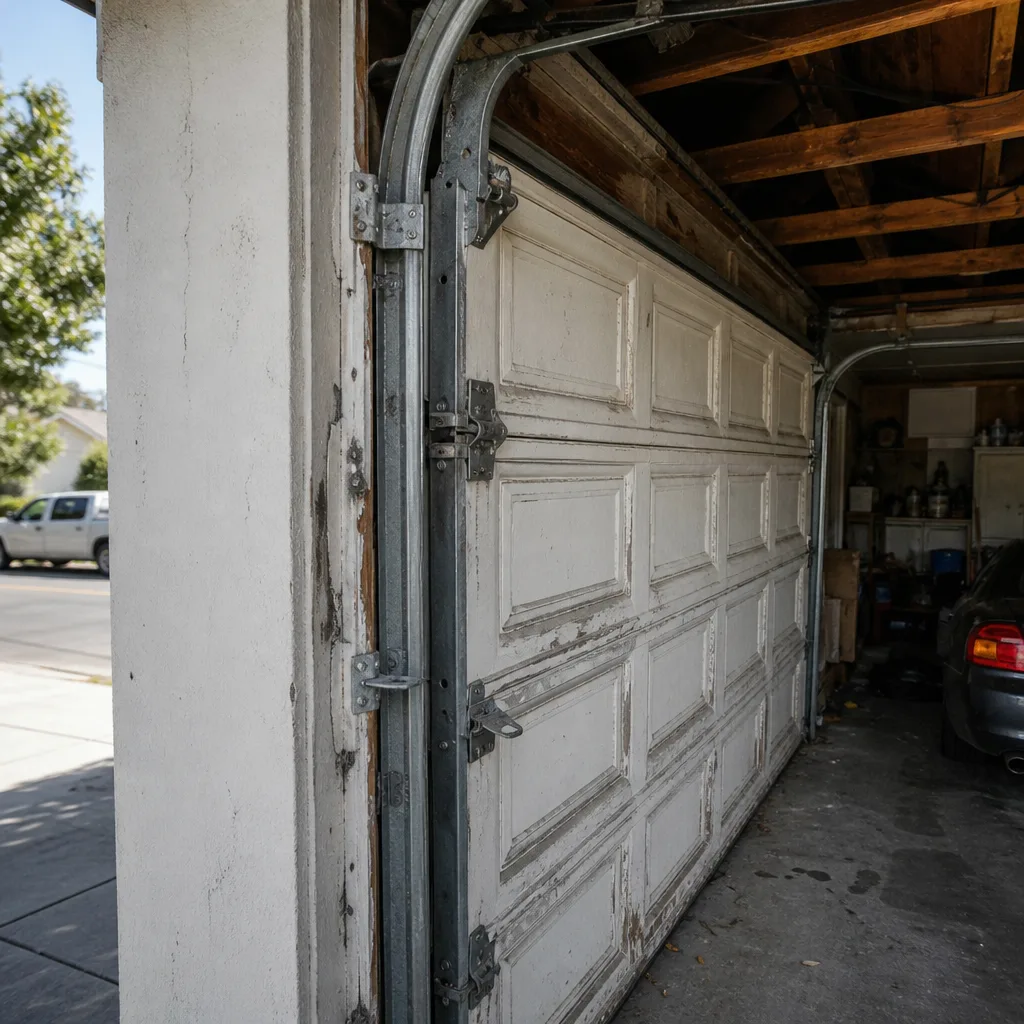 Before
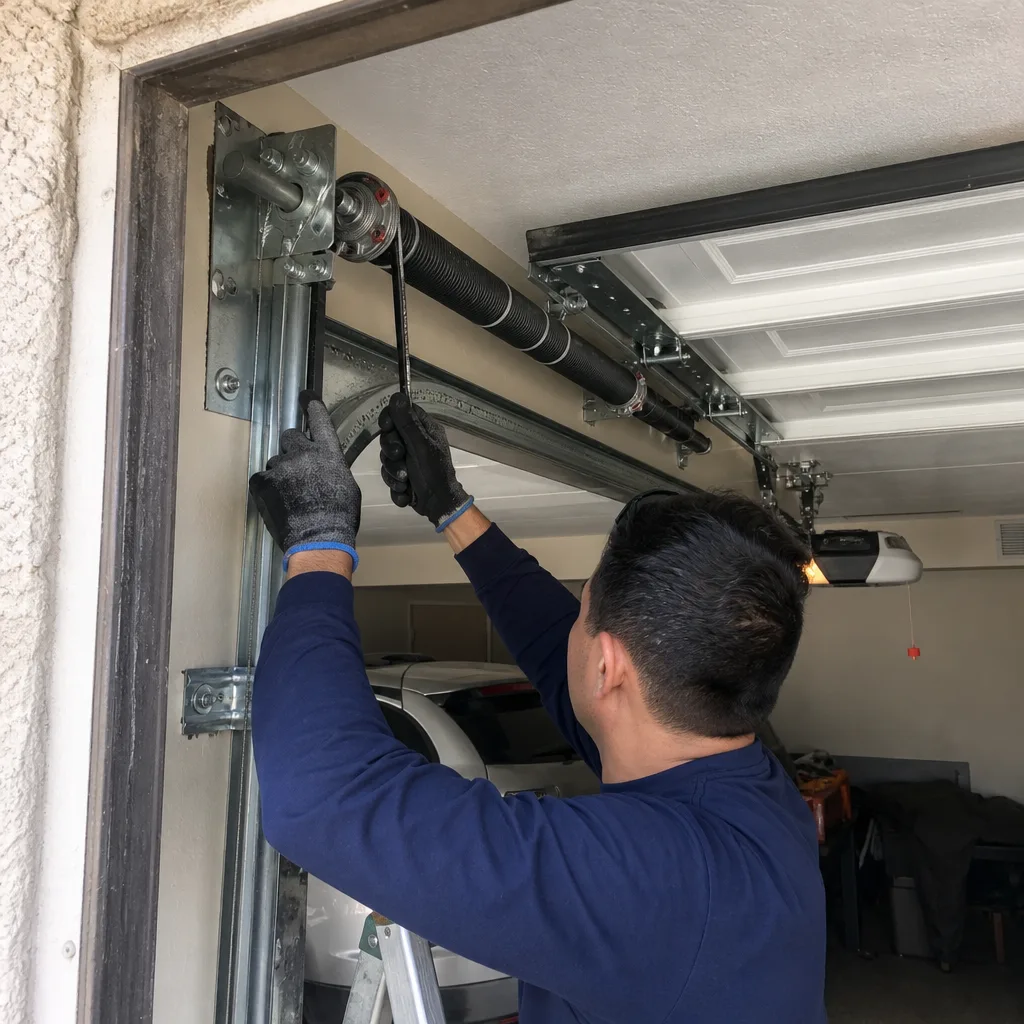 After
AfterGarage Door Cable Repair Troubleshooting: Common Problems and How to Fix Them
If your garage door cable snapped, something made it snap. That’s the insight most troubleshooting guides skip, and it’s the reason so many Los Angeles homeowners end up replacing the same cable twice. A garage door cable is the messenger, not the message. It frays, jumps, or breaks because a spring lost tension, a drum slipped out of alignment, or a track bent just enough to drag. In the sections below, we’ll walk you through the diagnostic sequence our technicians use on service calls across Los Angeles, from Echo Park to Woodland Hills, so you can see what’s actually failing before you spend money on the wrong fix.
Quick Answer
Garage Door Cable Repair Warning Signs Every Homeowner Should Know start with checking the spring, then the drum, then the track, then the cable itself. Cables rarely fail on their own; they fray from rubbing, jump when slack develops, or snap under load when the door is out of balance. If you see fraying or a slack cable, stop using the door and call a professional. A snapped cable under tension can cause serious injury.
Table of Contents
- The Root Cause Logic: Why Cables Fail in a Sequence
- The Door Balance Test: Your First Diagnostic Move
- The Three Cable Failure Modes and What Each One Points To
- Cables That Look Fine But Aren’t: Kinks, Birdcaging, and Flat Spots
- What You Can Safely Check Yourself: A Step-by-Step Guide
- Stop Immediately: The Two Scenarios That Need a Tech Right Now
- Los Angeles-Specific Cable Issues: Heat, Salt Air, and Seismic Shift
The Root Cause Logic: Why Cables Fail in a Sequence
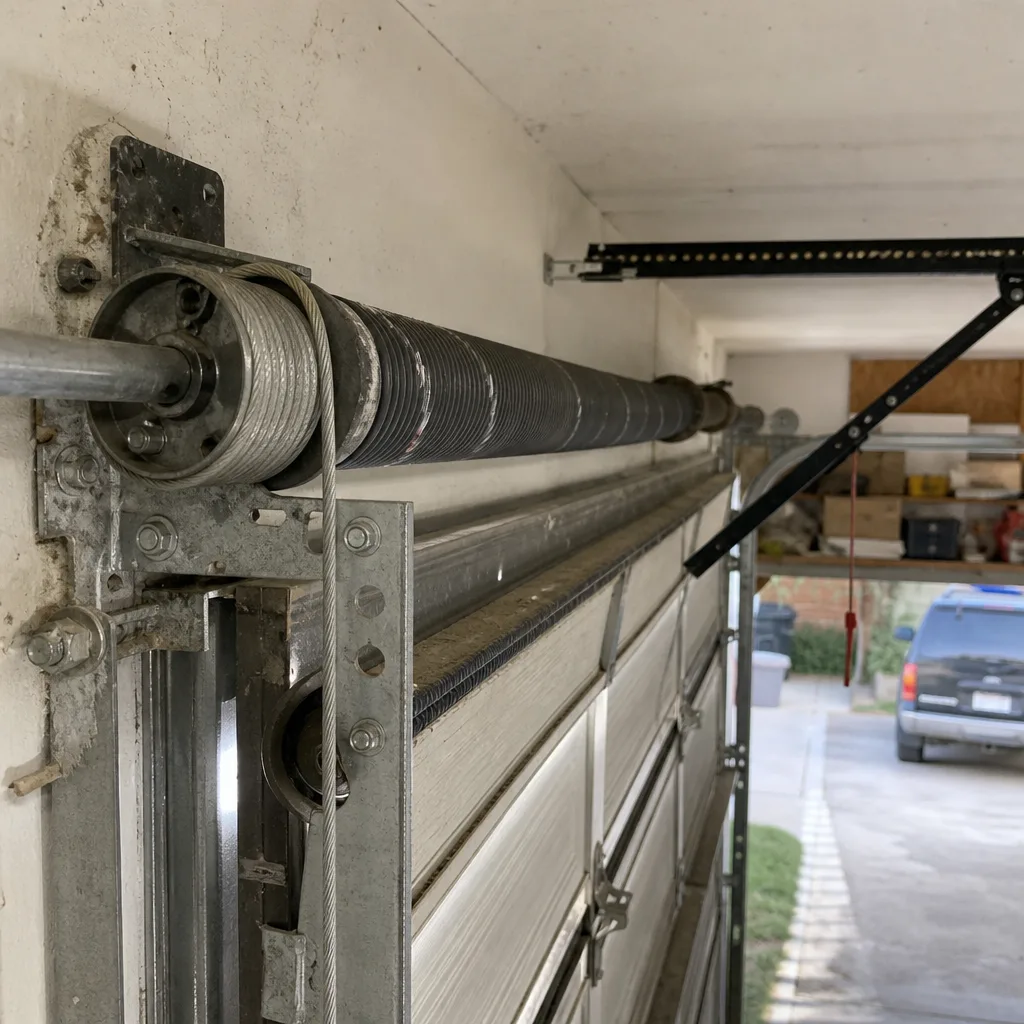
Here’s the diagnostic framework we use on every cable repair call in Los Angeles: spring first, drum second, track third, cable last. It’s a deliberate order, and skipping it is how homeowners waste money on repeat fixes. The lifting system works as a chain. Torsion springs, the horizontal coils mounted above your door, hold the stored energy that does the heavy lifting. The cables attach to drums at each end of that spring shaft. When the spring winds, the drums turn, the cables wind or unwind, and the door moves. If any link in that chain fails, the cable absorbs the damage.
So when a homeowner in Los Feliz calls about a frayed cable, we don’t reach for a replacement cable first. We check the spring’s tension. A spring that’s lost 15 to 20 percent of its rated lift force makes the door heavier than it should be. The cable now carries more load than it was designed for. It rubs harder against the drum, frays faster, and eventually snaps, typically at the bottom bracket where stress concentrates. Fix the cable alone and the weakened spring just destroys the new one within months.
Same logic applies to drums. A drum that’s slipped or cracked lets cable wind unevenly. You’ll see overlapping wraps or a cable that sits at an odd angle off the drum face. The uneven winding creates friction points, and friction is what frays cable strands. Replacing the cable without truing or replacing the drum just gives the new cable the same abrasive surface to rub against. We’ve fixed single-family doors in Sherman Oaks where the drum was the culprit and the cable was simply the evidence.
Track alignment runs third because it’s the most commonly overlooked. A track that’s bent inward by a quarter inch drags the rollers, which changes how the door sits in the opening, which tilts the entire lift system. The cable on the high side goes slack. The cable on the low side bears extra weight. Both conditions shorten cable life dramatically. Track misalignment in Los Angeles is particularly common in older homes where foundation settling has shifted the door frame over decades.
The Door Balance Test: Your First Diagnostic Move
Before you look at a single cable, test the door’s balance. It’s the fastest way to know whether you’re dealing with a cable problem or a spring problem masquerading as one. Here’s the sequence we walk Los Angeles homeowners through on the phone before we ever dispatch a truck.
First, close the door. Disconnect the opener by pulling the red emergency release cord, which usually hangs from the opener rail near the motor. This mechanical release lets you move the door by hand. Now, lift the door manually to waist height using the handle or the bottom edge. Let go. A properly balanced door stays put at waist height, roughly level. It doesn’t drop, and it doesn’t rise on its own.
If the door drops, the springs are under-tensioned and the cables are overworking every single cycle. That’s your root cause. If the door shoots upward, the springs are over-tensioned, and the cables are going slack on the way down, which leads to the cable jumping the drum. If the door feels heavy at the bottom but light at the top, you have a spring issue that changes tension through the travel arc. Any of these results points upstream of the cable.
Only after the balance test comes the cable inspection. Open the door fully, either manually or with the opener if it’s working safely. Look at both cables where they wrap around the drums above the door opening. You’re looking for three things: loose wraps, overlapping coils, or gaps between the cable and the drum surface. All three are symptoms of upstream problems, not standalone cable failures. The door balance test costs nothing and takes ninety seconds, and it tells you more than a visual cable check ever will.
If you’re unsure about disconnecting your opener or testing the door by hand, skip this step and call us. A door that slams under its own weight is dangerous, and no diagnostic is worth an injury.
The Three Cable Failure Modes and What Each One Points To
Garage door cables fail in three predictable ways, and each failure mode has a different root cause. Learning to read the failure is the difference between fixing the right thing and paying for the same repair again in six weeks.
Failure Mode 1: Gradual Fraying
Fraying looks like unspooled steel threads sticking out from the cable, usually concentrated near the bottom bracket or where the cable rubs against the drum edge. This is a friction problem. The cable has been dragging against something it shouldn’t touch, typically a cracked drum, a misaligned track, or a bracket that’s pulled loose from the door jamb. In our Los Angeles service area, we see this constantly on Craftsman and Wayne Dalton doors where the original bottom brackets have corroded after years of coastal moisture exposure, even miles inland.
Fraying is progressive. It doesn’t heal. A cable that’s lost even 10 percent of its strands has lost far more than 10 percent of its rated strength because the remaining strands now concentrate all the load. The fix is upstream: correct the alignment or replace the damaged hardware, then replace the cable. If you only replace the cable, the same abrasive contact point destroys it again.
Failure Mode 2: The Cable Jumps the Drum
A jumped cable is one that has come out of the drum groove and wrapped itself around the shaft, jammed between the drum and the spring, or dropped off the drum entirely into a tangled loop. This one almost always traces back to slack. During normal operation, the cable stays taut because the spring keeps tension on the drum. When the spring weakens or the door binds mid-travel, the cable goes momentarily slack, and that’s when it slips.
Jumped cables are common on doors where the spring was adjusted incorrectly or never replaced after it weakened. They’re especially frequent on Amarr and Raynor doors with older drums that have lost their groove depth through wear. A shallow groove gives the cable less to grip, so even a brief slack moment sends it over the edge. The symptom you’ll notice first is a door that opens unevenly or sticks on one side. The cable is either still tangled or has reseated poorly, and every cycle from that point risks a snap.
Failure Mode 3: Snap Under Load
A snapped cable breaks with a loud report, like a gunshot, and leaves the door hanging unevenly. One side drops because the cable that was holding it is gone. This is the final stage of a problem that’s been building for months. Fraying that never got addressed. A weakened spring that kept loading the cable beyond its spec. A drum that seized and concentrated all the force into one thin wire rope.
A snapped cable is dangerous and a clear stop-sign. Do not try to operate the door. Do not attempt to reattach anything. A garage door with one cable disconnected is under enormous asymmetric load from the spring, and the remaining cable is now holding weight it was never rated for. It can fail at any moment. In Los Angeles, we respond same-day to snapped cable calls because the door is frequently stuck halfway open, and a half-open garage is an open invitation to anyone walking by.
Cables That Look Fine But Aren’t: Kinks, Birdcaging, and Flat Spots
Not every cable problem announces itself with dangling steel strands. Some of the most dangerous cables we replace in Los Angeles homes look intact at a glance. You have to know what you’re looking for, and three specific damage patterns hide in plain sight.
Kinks are sharp bends in the cable that don’t straighten out when tension is applied. They occur when a cable has been pulled out of the drum and then rewound incorrectly, or when someone attempted a repair without properly seating the cable in the groove. A kinked cable has a permanent weak point. The individual steel strands have been bent past their elastic limit, which means they’ve already partially failed internally even if the outer surface looks continuous. Under the repeated flexing of daily open-close cycles, a kink becomes a snap, usually at the worst possible time.
Birdcaging is what the industry calls it when the individual strands of the cable separate and bulge outward, creating a pattern that looks like, yes, a birdcage. It’s a sign the cable has been shock-loaded, meaning it was forced to absorb a sudden impact. That impact usually comes from the door slamming down when a spring breaks, or from the opener pushing a door that was already bound. Birdcaged cable isn’t salvageable. Once the strands have separated from their manufactured twist pattern, the cable’s load rating is theoretical.
Flat spots form where the cable has been pinched against something, typically the drum flange or a misaligned bracket. The cross-section of the cable compresses from round to oval at that point, which changes how it tracks through the drum groove. A flat spot causes the cable to wobble slightly with every cycle, and that wobble accelerates wear at the exact spot where the damage already exists. We find flat spots regularly on older Los Angeles doors with original hardware that’s drifted out of alignment over decades of use.
Check for these three patterns by running the door slowly and watching the cable as it winds onto the drum. You’ll need a flashlight and a stepladder. If anything looks irregular, uneven, or bulging, stop the door and call a professional. These are not conditions that improve with time.
What You Can Safely Check Yourself: A Step-by-Step Guide
Not every cable problem requires a technician, but every cable problem requires a decision. Here’s a safe diagnostic sequence any homeowner can follow. We’ve organized it as numbered steps so you can work through it methodically.
- Disconnect the opener. Pull the red emergency release cord and make sure the door moves freely by hand. If it doesn’t, stop here. A door that binds and refuses to move has a mechanical obstruction somewhere, and forcing it is how doors come off their tracks.
- Run the balance test. Lift the door to waist height and let go. It should stay put. If it drops or rises, you’ve found your root cause before you’ve touched a single cable. Document what it did, then re-engage the opener.
- Inspect the drums. With the door closed, look at both drums above the door opening. Are the cables seated in the center of the grooves? Is the cable wrapping cleanly, with no overlaps and no gaps? A cable that’s climbing the drum flange is a jumped cable in progress.
- Check the bottom brackets. The cable attaches to the door through a bracket at each bottom corner. Looseness here causes the angle of the cable to change, and that angle change is what drags cable across the drum edge. Tighten any obviously loose bolts with a socket wrench, but don’t touch the cable attachment bolt itself. That bolt is under spring tension.
- Run the door and watch. Open halfway and stop. Look at both cables. They should be mirror images of each other. Any difference in angle, tension, or winding pattern between left and right is a diagnostic finding. Write it down.
- Check for visible wear patterns. Use a flashlight to scan the full exposed length of each cable, especially the first two feet above the bottom bracket. Look for fraying, kinking, rust staining, or any strand separation. If you find any, the cable’s service life is over regardless of what caused it.
These six steps will tell you whether you’re looking at a cable problem or an upstream problem. The distinction matters because the fixes are different, and one of them will fail again if you only address the symptom. If your inspection turns up fraying, kinking, birdcaging, or a failure in the balance test, you’ve reached the edge of safe DIY territory. From here, it’s a professional repair.
Stop Immediately: The Two Scenarios That Need a Tech Right Now
We’ll be blunt. There are exactly two situations where you should not touch your garage door at all, and should instead walk away, close the door to the house, and call a professional. Everything else can wait a day or two. These two cannot.
Scenario one: a snapped cable. The door is hanging unevenly, one side is sagging, and the spring is still under tension on the intact side. The remaining cable is bearing loads it was never rated for. Every additional cycle you run on that door is a gamble. And the gamble isn’t just a broken door. A garage door that lets go while open can drop fast enough to seriously injure whoever is underneath it. The cable is what keeps that from happening, and one of yours is gone.
Scenario two: a cable under tension that has separated from its anchor. If the cable has pulled out of the bottom bracket but is still taut, it’s holding spring energy. Cutting, prying, or even tapping that cable can release the energy instantly, and a cable end moving at speed is a steel whip. We don’t let our own technicians handle loosened cables without first relieving spring tension through the proper winding procedure. A homeowner should never attempt it.
Both scenarios require a torsion spring specialist. The spring must be unwound safely, the root cause addressed, the new cable installed and tensioned correctly, and the door rebalanced. This is not a one-person YouTube job. In Los Angeles, we handle these calls every day, and we always give you a written price before any work begins. Call (512) 883-4374 and a live person will pick up, twenty-four hours a day.
Los Angeles-Specific Cable Issues: Heat, Salt Air, and Seismic Shift
Los Angeles does three things to garage door cables that other cities don’t, and understanding them helps you anticipate problems before they strand you with a door that won’t open.
First, heat. Our inland valleys, from the San Fernando Valley through Pasadena and out to the Inland Empire corridor, see summer temperatures that push past 100 degrees in unventilated garages. Steel expands. The galvanized coating on cables handles this fine up to a point, but repeated thermal cycling accelerates the micro-fractures that come from normal bending fatigue. A cable that’s rated for 10,000 cycles in climate-controlled conditions may fail at 7,000 cycles in a Los Angeles garage that bakes every afternoon. This is one reason we recommend cable inspection every two years on high-use doors in the Valley.
Second, salt air. Homes within five to ten miles of the coast, from Santa Monica through Venice and down into the South Bay, get enough marine layer moisture to accelerate rust on uncoated cable. Most residential cables are galvanized, which helps, but the bottom bracket area is where rust concentrates because it’s where water drips down after a foggy night. Rust on the cable itself is manageable. Rust that starts at the bracket and creeps into the cable strands is a failure in the making. Coastal Los Angeles homeowners should inspect their bottom brackets twice a year.
Third, seismic shift. Even minor earthquake activity moves door frames incrementally, and after enough small events, a door track that was dead-level is now tilted by a degree or two. That tilt loads one cable heavier than the other. Over time, the loaded cable fails first. If you’ve felt any noticeable earthquakes in your neighborhood in the past few years, it’s worth running the balance test we described earlier. A door that’s drifted out of balance after seismic activity will chew through cables far faster than it should.
The good news is that all three of these conditions are addressable. Heat cycles mean earlier inspection intervals. Coastal corrosion means replacing brackets at the first sign of rust. Seismic drift means a professional track realignment. None of them require replacing your entire door system. But all of them require catching the problem before the cable becomes the casualty. And if you’re in Los Angeles and want a professional eye on your cables, Marlow’s garage door cable repair service in Los Angeles covers every neighborhood from the coast to the foothills, with a written price before any work starts.
Common Mistakes to Avoid
- Replacing the cable without checking spring tension. This is the number one repeat-repair mistake we see in Los Angeles. The new cable inherits the same overload condition that killed the old one, and it fails within months. Always run the balance test first.
- Attempting a DIY cable replacement on a torsion spring door. The spring holds enough stored energy to cause serious injury. We never recommend homeowner cable replacement on torsion spring systems, no matter how many tutorials exist online. The risk isn’t worth the money saved.
- Ignoring a frayed cable because the door still opens. Fraying is a countdown, not a cosmetic issue. Every cycle further damages the remaining strands. By the time you notice the door moving unevenly, you’re close to a snap.
- Reusing old cables after a spring replacement. When a spring breaks, the cables often absorb a shock load in the moment of failure. They may look fine but have internal damage. Any reputable spring replacement should include fresh cables unless a technician specifically inspects and clears the existing ones.
- Lubricating the cables. Cables don’t need lubricant and applying grease attracts grit that accelerates wear. Lubricate the rollers, hinges, and springs, but leave the cables dry.
- Running the door after a cable jumps the drum. Every cycle with a jumped cable scrapes the drum groove and can bend the shaft. Stop using the door and call for repair. Continuing to open and close it converts a quick cable reseating into a full drum replacement.
- Assuming both cables need replacement when only one failed. On most residential doors, we replace pairs because a new cable paired with an old one creates uneven tension. But a proper inspection should determine this, not a blanket rule. We replace cables in pairs on Los Angeles garage door repair jobs where one has failed and the other shows measurable wear.
When to Call a Professional
You need a garage door technician when the balance test fails, when you find fraying or birdcaging on either cable, when a cable has jumped the drum, or when a cable has snapped. You also need one when you’ve noticed your door making new sounds, scraping, or opening with a hitch that wasn’t there before. These are all mechanical issues that will not self-resolve, and several of them become dangerous if ignored. The spring system on a residential garage door stores enough energy to lift the full weight of the door, and that energy doesn’t care whether it’s being released through a trained hand or an untrained one. Marlow’s offers free estimates across the Los Angeles area. Call (512) 883-4374 and we’ll send a background-checked, uniformed technician with a written price in hand before any wrench turns.
Frequently Asked Questions
A bad garage door cable shows visible fraying, kinking, rust staining, or strand separation. The door may also open unevenly, make grinding noises, or fail the balance test. If the cable has visible damage or the door drops when released at waist height, the cable needs professional attention.
No, we don’t recommend it. Cables on torsion spring doors are under constant tension, and releasing that tension without proper training can cause the cable or spring to release suddenly with enough force to cause serious injury. Garage door cable replacement should be handled by a licensed professional with the right tools and training.
Garage door cable repair in Los Angeles typically costs between $150 and $300 per cable pair, depending on the door type and whether drums or bearings also need replacement. See our Garage Door Cost Breakdown: The Los Angeles Homeowner’s Reference for 2026 for full pricing details. If the root cause is a broken spring, expect the total to include spring replacement as well. Marlow always gives you a written price before work starts so you know the exact number upfront.
Residential garage door cables in Los Angeles typically last 8 to 12 years, but coastal homes with salt air exposure and Valley homes with extreme heat may see shorter lifespans. High-cycle springs match with cables, and doors that cycle more than four times daily should have cables inspected every two years.
A cable that repeatedly comes off the drum is telling you the door is out of balance, the spring is weak, or the drum is worn. The cable goes slack during part of the travel cycle and that slack lets it slip off the groove. Fix the spring tension or the drum, and the cable will stay put.
Yes. A snapped cable leaves your door unusable, and we treat it as a priority call. Call (512) 883-4374 and a live person schedules your appointment. You’ll see your technician’s live arrival time on your phone, and you’ll get a written price before any work begins. We serve all of Los Angeles, from spring repair in Los Angeles to full cable and door service.
The Bottom Line
Troubleshooting a garage door cable means looking past the cable. Run the balance test first. If the door drops at waist height, your spring is the problem and the cable is the symptom. Check the drums for proper seating and the track for alignment. Know the three failure modes, fraying, jumping, and snapping, and what each one tells you about the underlying issue. And respect the danger: a cable under tension is not something to experiment with. If you’re in Los Angeles and the diagnosis points anywhere upstream of a clean bill of health, call (512) 883-4374 and get a professional, written-price repair backed by Marlow’s 365-Day Done Right Promise. For more guides & resources, visit our blog.
Written by Jaylen Ross, Owner at Marlow Garage Door Repair, serving Los Angeles since 2002.