
Last updated October 9, 2026
Full 25-point door and opener safety check with every visit - springs, cables, rollers, tracks, and your LiftMaster or Chamberlain opener included
You get a price before we start. It does not change when the truck arrives.
 Before
 After
After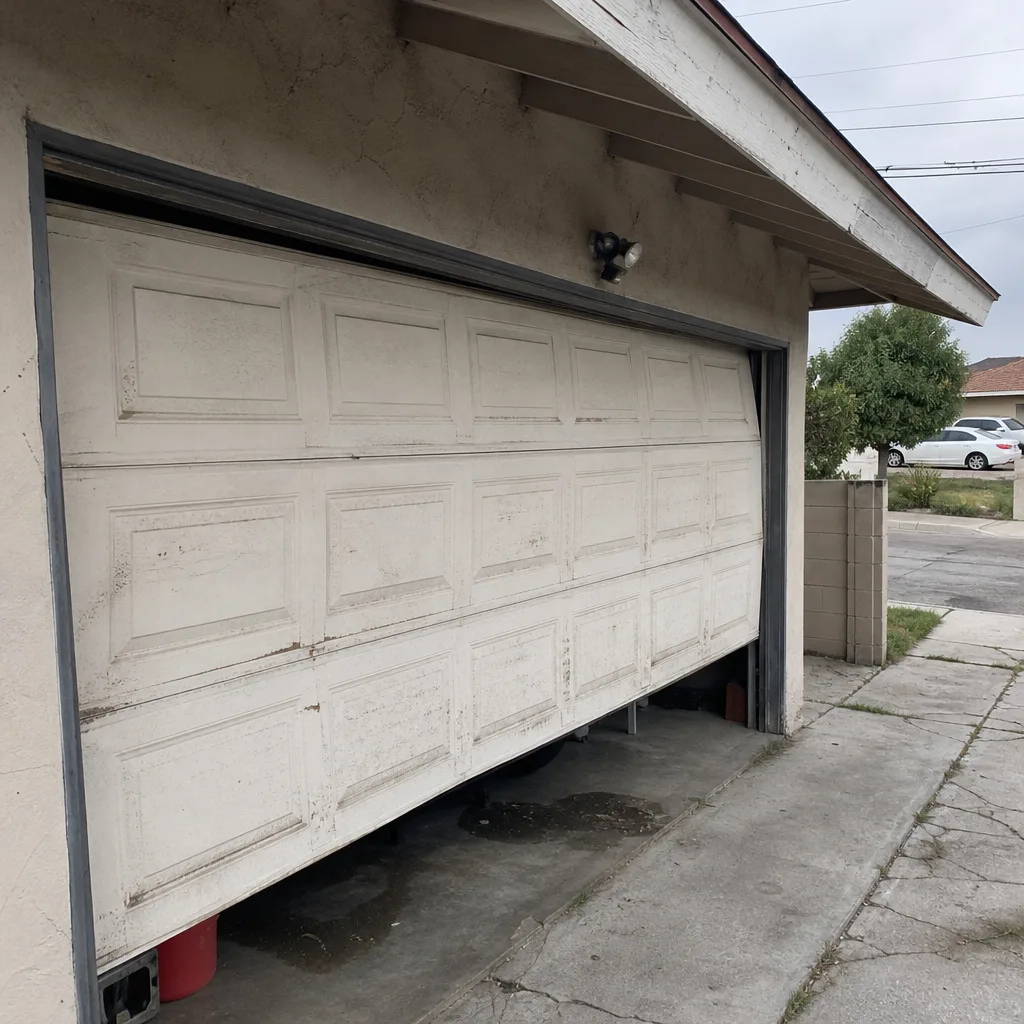 Before
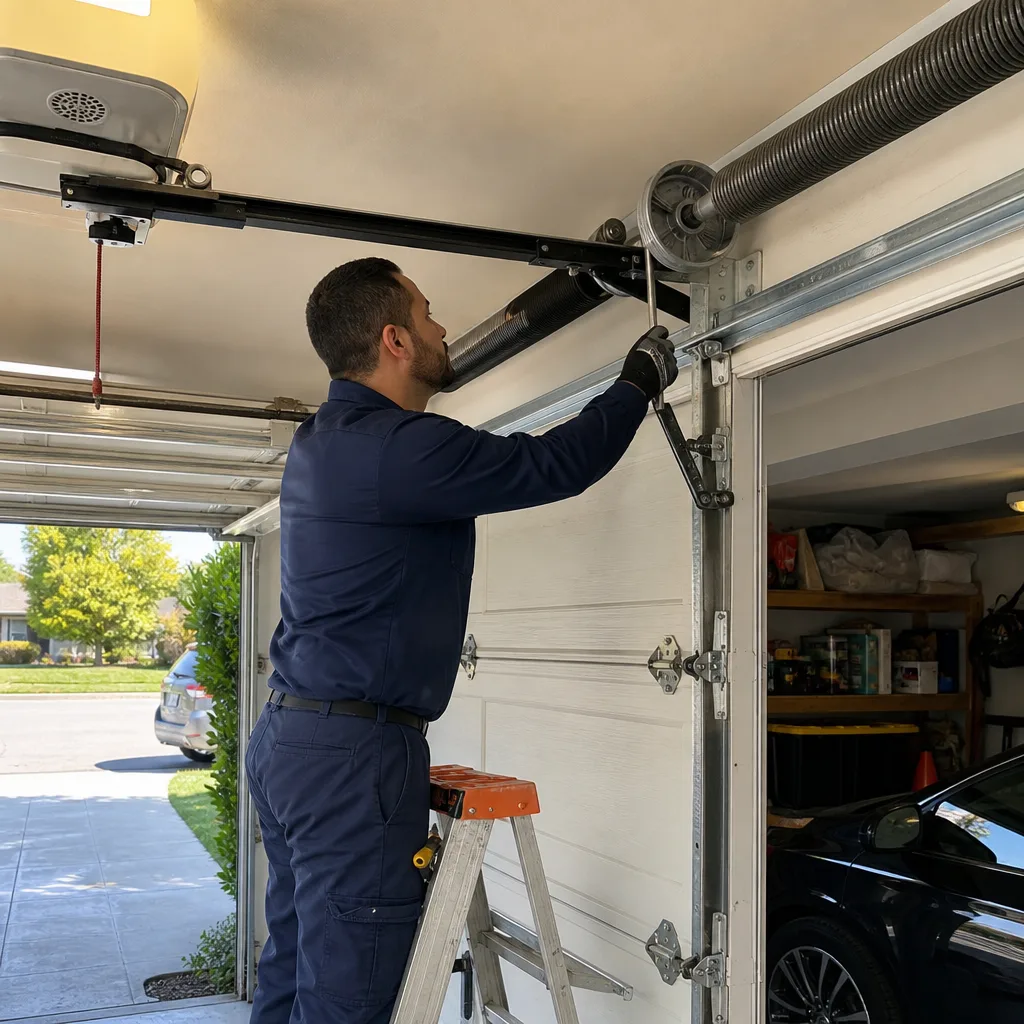 After
After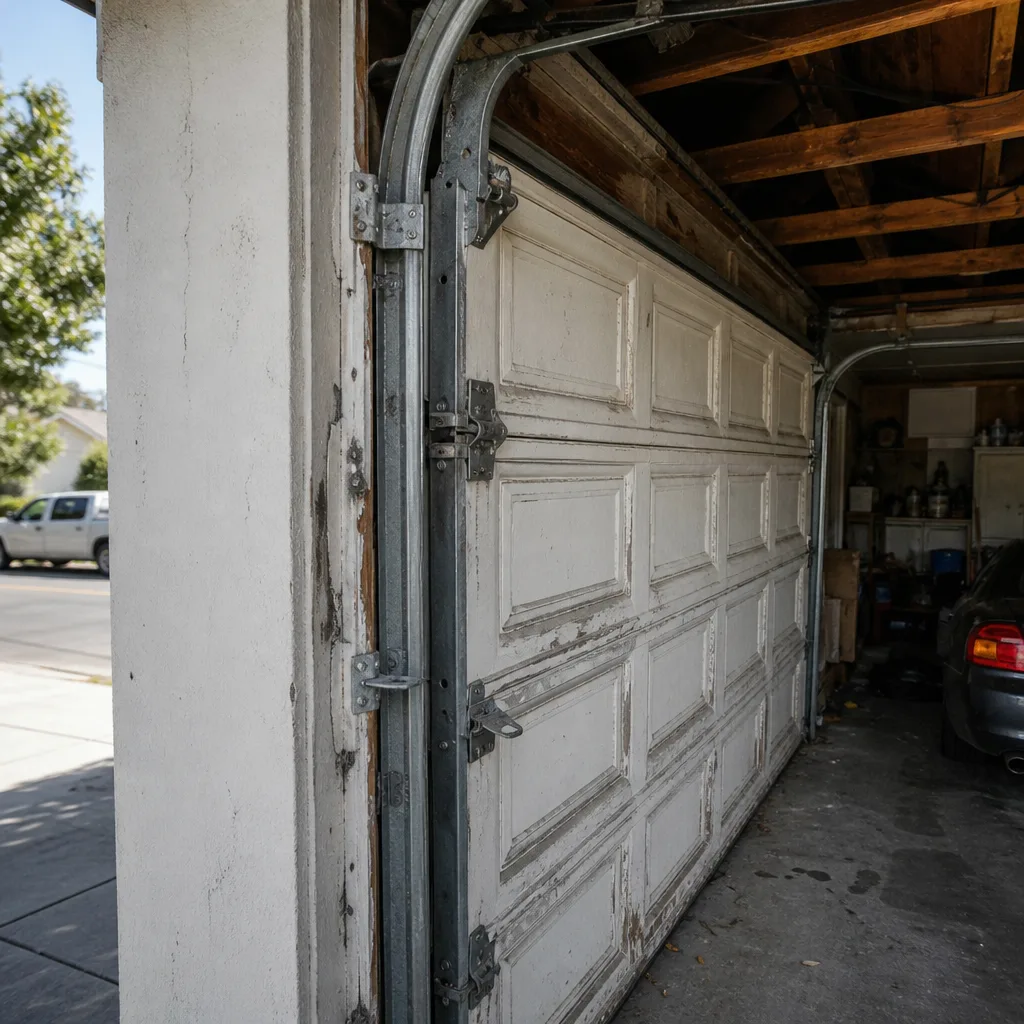 Before
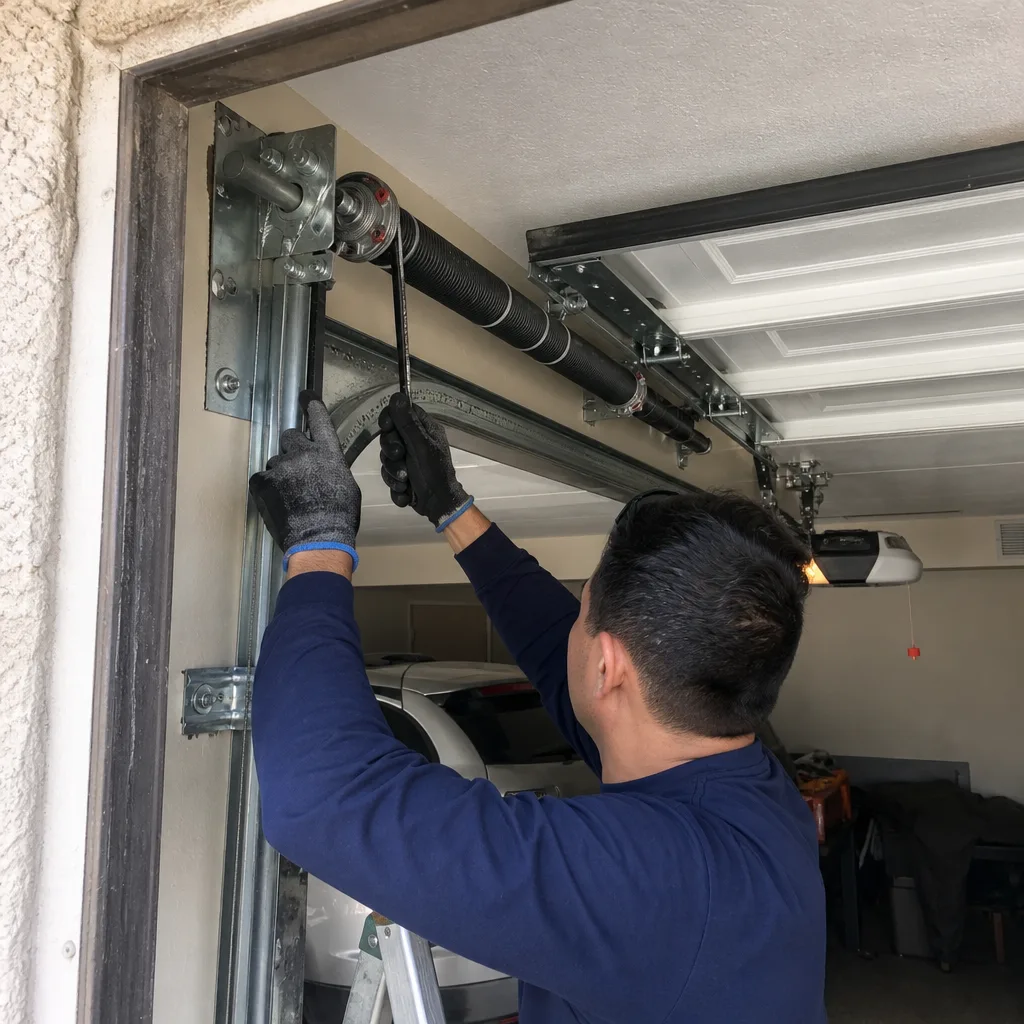 After
AfterGarage Door Repair Troubleshooting: Common Problems and How to Fix Them
A door that “just stopped working” is almost never one problem. It’s usually one of seven distinct failure points, and misidentifying which one you’re dealing with is exactly how homeowners in Los Angeles get sold repairs they don’t need. We’ve watched it happen for over two decades: someone hears a loud bang, assumes the worst, and pays $500 for a job that should have cost $180. Or worse, they ignore a slow grinding sound for three weeks and turn a $40 fix into a full opener replacement. This guide walks through the symptoms first, because the symptom tells you more than any parts diagram ever will. By the time you finish reading, you’ll know whether you’re looking at a DIY adjustment or picking up the phone for our Garage Door Repair services, and you’ll know the realistic price range before anyone steps into your garage.
Quick Answer
Garage door troubleshooting starts with one rule: identify the symptom, not the part. A door that won’t open at all, a door that opens but won’t close, and a door that moves but makes a terrible grinding noise are three completely different failures with three completely different price tags. Use the manual release test first to separate opener problems from door mechanics, then match your specific symptom to the sections below. Most sensor issues cost nothing to fix, spring problems typically run $150 to $290 in Los Angeles, and opener motor failures usually mean replacement at $300 to $500.
Table of Contents
- The Symptom-First Approach: Why Parts Lists Fail
- The 60-Second Manual Release Test
- Symptom 1: Loud Bang or Snap, Door Falls or Won’t Lift
- Symptom 2: Slow Grinding or Scraping Sound
- Symptom 3: Door Starts Moving, Then Stops or Reverses
- Symptom 4: Total Non-Response – Nothing Happens When You Press the Button
- Symptom 5: Opens Fine but Won’t Close (or Vice Versa)
- How to Tell a Broken Spring from a Snapped Cable
- The Three Steps Pros Do First – and the Two Most Homeowners Skip
- Common Mistakes to Avoid
- When to Call a Professional
- Frequently Asked Questions
- The Bottom Line
The Symptom-First Approach: Why Parts Lists Fail
Every generic troubleshooting guide starts the same way: here are the parts of your garage door, and here’s what can go wrong with each one. That approach works if you already know a torsion spring from a limit switch. Most people don’t, and they shouldn’t have to. The better starting point is what you actually experienced: the sound, the movement, the timing, the partial function. Those four observations narrow a garage door problem to one or two components fast.
Here’s the symptom-to-cause matrix we use on every service call in Los Angeles, whether we’re in Sherman Oaks or down in Long Beach:
- Loud bang or snap while the door is operating → broken torsion spring or snapped cable. Both are dangerous to handle directly. This is a call-a-professional situation.
- Slow grinding or metal-on-metal scraping → worn rollers, dry tracks, or failing opener gear. Often fixable without replacing major components.
- Door starts moving then stops or reverses halfway → misaligned photo-eye sensors, force setting problems, or track obstruction. Usually a simple fix.
- Total non-response, no sound at all → power issue, dead remote battery, or fried opener circuit board. Three quick checks before any spending.
- Works in one direction only → photo-eye sensor misalignment or limit switch failure. Often fixed in under 10 minutes.
- Door moves but jerks or sticks at the same spot every time → bent track section, damaged roller, or broken spring on one side only.
The reason symptom-first matters in Los Angeles specifically comes down to climate. Our dry summers and Santa Ana winds push dust and grit into tracks and rollers faster than homeowners expect. A door that worked fine in June can be grinding by September simply because of airborne debris in places like Northridge or Pasadena. Knowing whether you’re dealing with environmental buildup versus component failure changes the repair approach entirely.
The 60-Second Manual Release Test
Before you touch anything else, run this test. It separates opener problems from door mechanics problems in under a minute, and it’s the first thing any competent technician does when they arrive. The manual release is the red cord hanging from the opener rail, usually near the top of the garage door.
- Close the door fully. If it won’t close, skip to step 3 and proceed with caution.
- Pull the red release cord straight down. You’ll feel it disengage with a click. The door now operates manually.
- Grab the door handle or the bottom edge and try to lift it by hand. A properly balanced door lifts with moderate effort, stays in place at waist height, and closes smoothly.
- If the door feels heavy, drops abruptly, or won’t stay raised, the door mechanics are the problem – most likely the springs. Re-engage the opener by pulling the release cord toward the door until it clicks back in, then call a professional.
- If the door lifts easily and stays balanced, the door itself is fine. The problem is in the opener, the remote, or the wiring. Move to Symptom 4 or Symptom 5 below.
We’ve seen this single test save Los Angeles homeowners hundreds of dollars. A door that lifts easily by hand tells you the springs, cables, tracks, and rollers are all functioning. That means you don’t need a spring replacement, you don’t need a cable repair, and anyone who tells you otherwise after running this test should be asked to explain exactly why. If you’d rather not run the test yourself, our garage door repair team in Los Angeles runs it as step one on every diagnostic call.
Symptom 1: Loud Bang or Snap, Door Falls or Won’t Lift
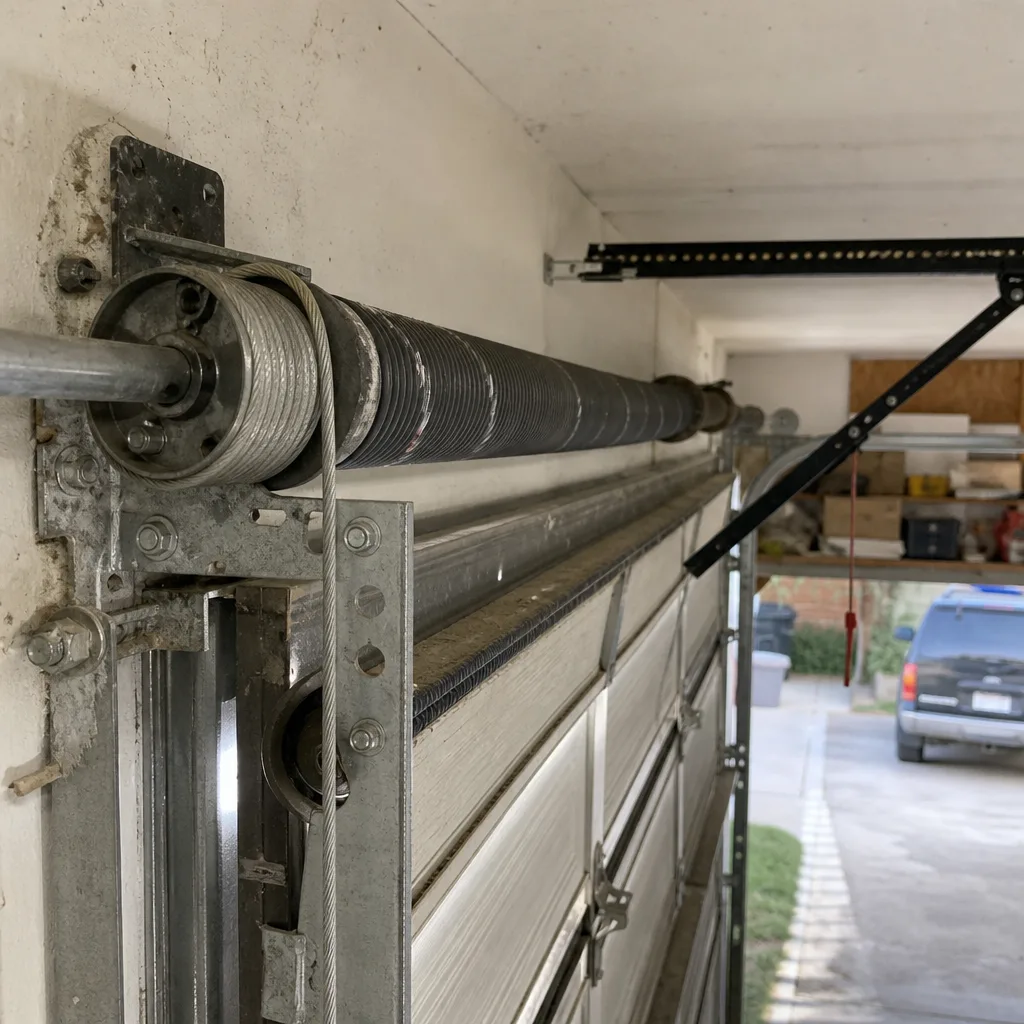
This is the scary one. A garage door that produces a sound like a gunshot or a heavy cable snapping is almost always telling you one of two things: a torsion spring broke, or a cable snapped. Both failures happen under extreme tension, which is why the sound is so loud. The torsion spring sits horizontally above the door and does most of the lifting work, counterbalancing the weight of a 150-to-200-pound door. When it breaks, the door suddenly becomes dead weight.
What you’ll notice immediately: the door won’t open with the opener, or it opens a few inches and stops, or one side sags lower than the other. If you look above the door and see a visible gap in the spring coil, that’s a broken torsion spring. The spring snaps into two pieces rather than unraveling, so look for a clean break with a gap in the middle. In our experience across Los Angeles garages from Echo Park to Woodland Hills, torsion springs last between 7 and 12 years depending on use frequency. A door that opens twice a day lasts longer than one opened six times a day.
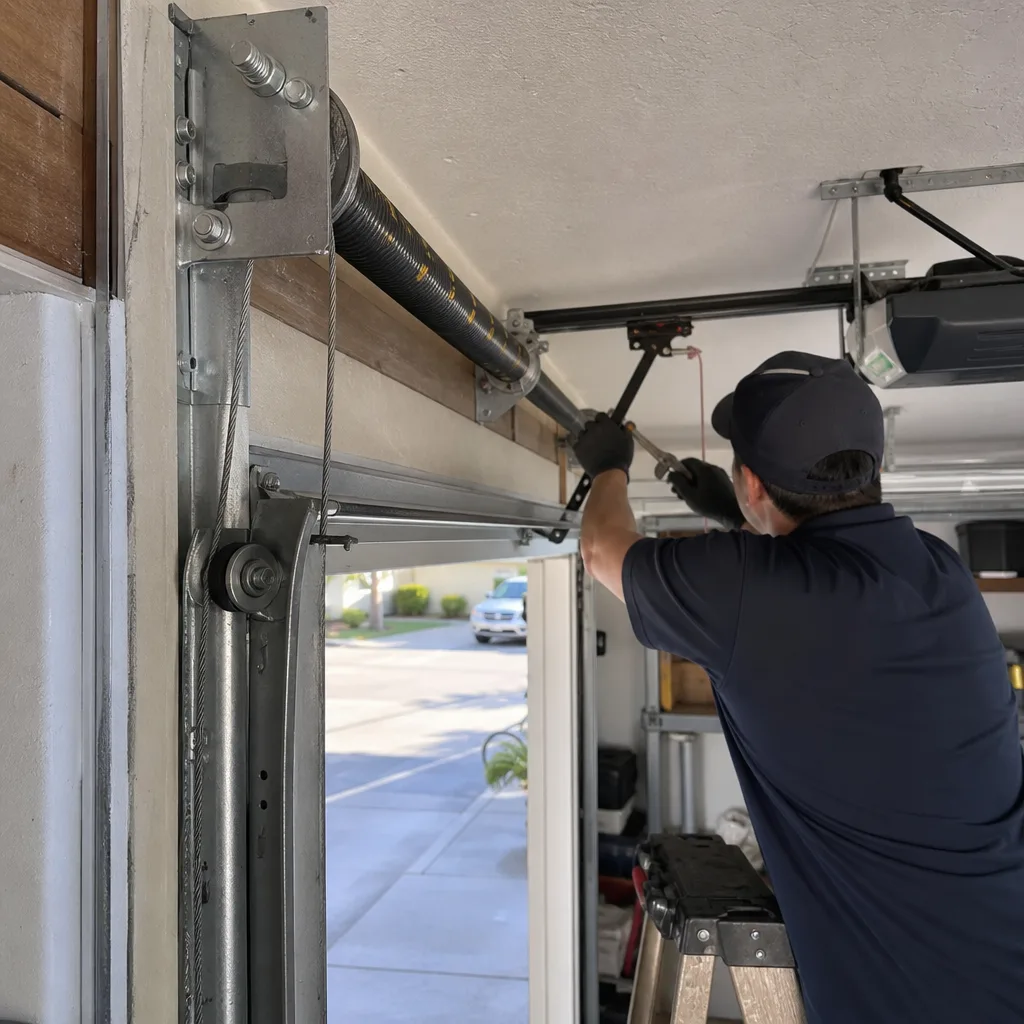
What it costs in Los Angeles: spring replacement typically runs $150 to $290 depending on spring type and door weight. Some companies quote higher for two-spring systems, which are common on double-wide doors in newer LA construction. You should see the exact number in writing before any work starts. This is not a DIY job, period. Torsion springs hold enough tension to cause serious injury if mishandled. We always recommend a trained professional for spring work, and our spring repair specialists in Los Angeles handle this exact scenario daily.
Symptom 2: Slow Grinding or Scraping Sound
A door that moves but sounds like it’s dragging gravel across concrete is telling you something different. This is rarely a catastrophic failure; it’s usually friction and wear. The most common culprits are worn rollers, dry or misaligned tracks, or a failing opener gear. Here’s how to tell which one you’re dealing with:
- Grinding only when the opener runs, door barely moves: the opener gear is stripped. This is a plastic gear inside the opener motor unit, and it’s a common failure point on older LiftMaster and Craftsman models. You’re looking at an opener repair or replacement, typically $250 to $450 in Los Angeles.
- Scraping that follows the door as it moves: a roller has failed or the track has shifted. Inspect the rollers while the door moves. Nylon rollers wear down and become noisy after 7 to 10 years. Metal rollers last longer but transfer more vibration. A track that’s pulled away from the wall will cause scraping at a specific point every time.
- Squeaking that’s more annoying than alarming: dry rollers and hinges. A garage door lube job on hinges, rollers, and bearings often quiets this down. Use a silicone-based garage door lubricant, not WD-40, which actually attracts dust. Skip lubricating the track itself; that collects grime and makes things worse in LA’s dusty air.
In older Los Angeles homes with original garage doors from the 1960s and 1970s, we frequently see a combination: dry tracks plus metal rollers plus a tired opener gear all contributing to the same grinding noise. When that’s the case, fixing one component quiets the door temporarily, but the noise returns. A full diagnostic is the smarter play.
Symptom 3: Door Starts Moving, Then Stops or Reverses
This symptom drives homeowners crazy because it’s intermittent. The door starts to close, gets anywhere from a few inches to three-quarters of the way down, then reverses back up as if something is in the way. Sometimes it does this repeatedly; sometimes it works fine for days. The cause is almost always one of three things.
Photo-eye sensors misaligned or dirty. These are the small units mounted near the floor on both sides of the door opening, each with a small light. They project an invisible beam across the opening; if anything breaks that beam, the door refuses to close. Sunlight hitting a sensor directly can also trigger a false “obstruction” reading, which is a real problem in Los Angeles garages that face west. Dust on the sensor lens does the same thing. Wipe both lenses with a dry cloth, make sure the small lights on each sensor are solid (not blinking), and try again. This fixes the issue a surprising percentage of the time.
Force setting too low. Every opener has a force adjustment that controls how hard the motor pushes before reversing. When this setting drifts too low, the door hits normal track resistance and the opener thinks it’s hit an obstruction. Adjusting the force setting is manufacturer-specific; on most LiftMaster and Chamberlain units, it’s a small dial on the back of the motor unit. This is a safe adjustment but one that requires following your owner’s manual precisely.
Track obstruction or misalignment. Look along both vertical and horizontal track sections for dents, loose brackets, or debris. In LA garages that double as storage spaces (and most do), a box or ladder shifted against the track can create exactly this symptom. Pull anything away from the tracks and test again.
Symptom 4: Total Non-Response – Nothing Happens When You Press the Button
You press the wall button. Nothing. You press the remote. Nothing. The keypad outside. Nothing. Before you assume the opener is dead, run through these three checks in order. They’re the same checks we do on service calls throughout Los Angeles, and they save a lot of unnecessary replacement costs.
- Check the power source. Is the opener plugged in? Check the GFCI outlet it’s plugged into, because those trip occasionally. Plug a lamp into the same outlet and see if it works. A tripped breaker or GFCI costs nothing to reset.
- Check the wall button wiring. If the wall button works but the remotes don’t, the opener has power and the problem is in the remote signal or the remote itself. Replace remote batteries first. If the wall button doesn’t work either, the opener has either lost power or lost its circuit board.
- Check the lock mode. Many openers have a Lock button on the wall console that disables remote operation. If someone pressed it accidentally (common with kids), remotes stop working while the wall button keeps working. Press and hold the Lock button for 3 seconds on LiftMaster and Chamberlain units to disable.
If all three check out and the door still won’t respond, you’re likely looking at a failed logic board or motor. Circuit board failures happen on openers of all ages, though they’re more common after 10 years. Opener replacement in Los Angeles runs $300 to $500 installed, depending on the model and whether you want features like battery backup or smart home integration. If your opener is a Raynor or Wayne Dalton unit that’s over 12 years old, replacement is usually the smarter investment than board repair.
Symptom 5: Opens Fine but Won’t Close (or Vice Versa)
This is the best-case scenario in the troubleshooting world. A door that opens normally but refuses to close is almost always a photo-eye sensor issue, and it’s usually fixed in under 10 minutes with zero parts. The reverse – closes fine but won’t open – points to a limit switch or travel setting problem.
Opens but won’t close: The sensors are misaligned, dirty, or the wiring is loose. Look at the small lights on each sensor eye. If one or both are blinking, the sensors aren’t talking to each other. Gently adjust the sensor brackets until both lights are solid. Wipe the lenses. Check that nothing is parked between the sensors. If the sensors face direct afternoon sun in a west-facing Los Angeles garage, angle them slightly inward or add a small shade. Sunlight interference is a common seasonal complaint in neighborhoods like Brentwood and Santa Monica where garages face the ocean.
Closes but won’t open: The limit switch or travel setting is off. This tells the opener how far the door should travel, and when it drifts, the opener may think the door is already open even when it’s closed. This is a simple adjustment on most units, found on the opener as limit screws or, on newer models, a menu-driven travel setting. Some Craftsman and Genie models also have a force button that resets travel automatically.
If adjusting sensors and travel settings doesn’t fix it, the opener logic board has likely failed in one direction only. That’s rare but it happens, and it points to opener replacement rather than repair.
How to Tell a Broken Spring from a Snapped Cable
These two failures look similar to a homeowner and get conflated constantly, but they carry different repair costs and different levels of urgency. Here’s the visual inspection that tells them apart in under a minute.
A broken spring sits above the door, in the horizontal position. If you have a single torsion spring, look for a gap in the coil around the middle or near one end. If you have two springs (one on each side, common on double-wide doors), compare them. One intact spring and one with a visible gap means the broken one failed, and you should replace both – when one goes, the other is close behind because they’ve cycled the same number of times. A broken extension spring, found on the sides above the horizontal tracks in older doors, will be visibly separated into two pieces.
A snapped cable runs vertically along the sides of the door, attached to the bottom brackets on each side and winding up to the drum at the top. The cable itself looks like a thick steel rope. When it snaps, you’ll see a frayed end or a loose cable hanging. The door will often lift unevenly, because one side has cable support and the other doesn’t.
The cost difference matters. Spring replacement in Los Angeles runs $150 to $290. Cable replacement runs $120 to $200. But here’s the part competitors skip: a snapped cable is usually a symptom, not the root cause. Cables snap when the spring fails first and the cable takes the full door weight, or when the cable rusts through from age. If you replace the cable without replacing a failed spring, the new cable snaps again within days. We always check the spring condition before doing any garage door cable repair in Los Angeles, because the two components work as a system.
The Three Steps Pros Do First – and the Two Most Homeowners Skip
When a technician arrives at any Los Angeles garage door service call, the diagnostic follows a consistent order. It’s not magic; it’s a sequence that rules things out efficiently. Here’s the professional order, and where homeowners usually go wrong.
Step 1: The manual release test. Already covered above, but worth repeating: isolating the door from the opener tells you which half of the system is failing. We do this before touching anything else. Homeowners skip it because they didn’t know the red cord existed or what it did.
Step 2: Visual spring inspection. A glance at the spring tells us whether the door is safe to test at all. If a spring is broken, we don’t run the opener, because doing so can burn out the motor quickly. Homeowners skip this because they don’t know what a broken spring looks like, which is exactly why we wrote the section above.
Step 3: Open and close the door manually while watching the rollers and tracks. This reveals bent tracks, damaged rollers, and balance problems. A door that’s heavier on one side than the other points to cables or spring issues. Homeowners skip this because a door that moves feels like a door that works, even when it’s fighting itself.
The two steps homeowners skip that change the estimate:
- Checking the balance. A garage door that’s properly balanced should hold its position at waist height when released. If it drops, the springs are weak or broken. A door that drifts up on its own has springs that are too strong. Both conditions shorten opener life and mean a spring replacement is likely the real repair, not whatever symptom prompted the call.
- Testing the auto-reverse safety feature. Place a 2×4 or a roll of paper towels under the door and close it. The door should reverse within two seconds of contacting the object. If it doesn’t, you have a safety problem that needs immediate attention, regardless of any other symptom. In Los Angeles, where many households have kids and pets, this test matters. Run it monthly.
Common Mistakes to Avoid
- Oiling the tracks. The track is a guide, not a bearing surface. Oil on the track collects dust and grit, which in a dry Los Angeles climate becomes a grinding paste within weeks. Lubricate the rollers, hinges, and springs instead. Use a silicone spray or white lithium grease on moving parts only.
- Forcing the door open after a loud bang. When a spring snaps, the door is dead weight. Forcing the opener to lift it can burn out the motor, turning a $200 spring replacement into a $500 spring-and-opener job. Stop and call a professional.
- Replacing one spring on a two-spring system. The springs are installed as a matched pair and cycle together. When one breaks, the other has the same wear. Replacing only the broken one leaves you with an unbalanced door and a second service call within months.
- Ignoring a slow or noisy door. Grinding and squeaking don’t fix themselves; they compound. A $40 roller replacement deferred becomes a $300 track repair when the bad roller carves a groove into the track. This is one of the most common avoidable repairs we see in older LA garages.
- Adjusting cables or springs without training. Both components are under extreme tension. A garage door cable that lets go while you’re adjusting it can cause serious injury. If the repair involves a spring or a cable, call someone who does this work daily.
- Skipping the auto-reverse test after any repair. Any time a door is serviced, the safety reverse should be tested. It’s the difference between a garage door and a four-hundred-pound guillotine. Test it. Then test it again.
- Buying the cheapest opener on the shelf. In Los Angeles, garage doors cycle more than in most of the country because many homeowners use the garage as the primary entrance. A budget opener with a plastic gear train will fail in three to five years. Spending $50 to $80 more on a quality LiftMaster or Chamberlain unit buys years of service life.
When to Call a Professional
Some garage door problems are genuinely DIY-friendly: sensor realignment, remote battery replacement, lubrication, balance testing. Others are not, and the line between them is simpler than most guides make it seem. If the failure involves a torsion spring, an extension spring, a cable under tension, or a track that’s pulled away from the wall, stop and call someone. These components hold enough stored energy to cause serious injury, and the cost of professional repair is modest compared to the risk. If your door fell while partially open, or if a spring broke while you were standing nearby, treat the door as unsafe until a professional has inspected it.
If you’re in Los Angeles and you’d rather have a trained eye look at it, Marlow Garage Door Repair offers free estimates across the LA area. Jaylen Ross and the team have been serving Los Angeles since 2002, and every job includes a written price before any work starts. Call (512) 883-4374 and a live person answers, 24/7.
Frequently Asked Questions
Garage door repair in Los Angeles typically runs $120 to $500 depending on the failure. Spring replacement runs $150 to $290, cable repair runs $120 to $200, sensor realignment often costs nothing if it’s a simple adjustment, and opener replacement runs $300 to $500 installed. The exact number depends on door weight, spring type, and opener model. You should see the written price before any work starts. Call (512) 883-4374 for a free estimate from Marlow Garage Door Repair.
Most spring, cable, and sensor problems can be repaired the same day. Broken springs and snapped cables are rush jobs because they leave your garage inoperable and, in many Los Angeles homes, block the primary entrance to the house. Marlow Garage Door Repair keeps common spring sizes and cable lengths stocked on service vehicles so repairs usually happen on the first visit. Call (512) 883-4374 to check availability today.
A garage door that reverses when closing is almost always a photo-eye sensor issue: the sensors are misaligned, dirty, or being triggered by direct sunlight. Check that both sensor lights are solid, wipe the lenses, and make sure nothing is blocking the beam. If that doesn’t fix it, the force setting or circuit board is the next suspect. This issue is frequently fixed in under 10 minutes without parts.
No, and you should never accept a repair quote that changes mid-job without explanation. At Marlow Garage Door Repair, the written price you receive before work starts is the price you pay. If additional problems are discovered during the repair, we stop, explain what we found, and get your approval on the new written price before touching anything else. Every job is covered by the 365-Day Done Right Promise, which means if the repair fails within a year, we come back and make it right at no charge.
Yes. Marlow Garage Door Repair service vehicles in Los Angeles carry common torsion and extension springs, cables, rollers, hinges, remotes, and sensor components. We’re trained on eight major brands – LiftMaster, Chamberlain, Genie, Clopay, Amarr, Wayne Dalton, Craftsman, and Raynor – so the tech who arrives already knows your specific door. The goal is one visit, fixed right the first time.
Given Los Angeles’s dry climate and the amount of dust that accumulates in garages, a lubrication and inspection every 12 months is the minimum. Focus on rollers, hinges, springs, and bearings with a silicone-based lubricant. Run the auto-reverse safety test monthly, and follow a Garage Door Spring Repair Maintenance Schedule: What to Do and When if your door is more than 7 years old. Regular attention prevents the $300 repairs that start as $40 fixes.
The Bottom Line
Garage door troubleshooting isn’t about memorizing parts; it’s about reading symptoms. A loud bang points to springs or cables. A grinding sound points to rollers or the opener gear. A door that stops midway points to sensors or force settings. A door that does nothing points to power or the circuit board. Run the manual release test first, check the simple things second, and know when to walk away. The springs and cables on your garage door hold enough tension to hurt you, and that’s not a lesson anyone needs to learn the hard way. If you’re in Los Angeles and you’d rather skip the guesswork, Marlow Garage Door Repair has been serving the area since 2002 with upfront pricing and a 365-Day Done Right Promise on every repair. Call (512) 883-4374 – a real person answers, day or night.
Written by Jaylen Ross, Owner at Marlow Garage Door Repair, serving Los Angeles since 2002. See more guides & resources.